How To Make A Brilliant T-Shirt Design With Merch Informer The Moment You Realize It Will Sell

Effectively selling t-shirts on Amazon could previously be considered a seriously time-consuming task. If you’re a bit old school and didn’t know about one of the easiest ways to do your research, check out the competition, and then create your designs based on the insights, this endeavor probably took you days if not weeks at a time.
This is all in the past now, since Merch Informer will easily provide you with all the necessary market info, and then allow you to create your t-shirt art through its dedicated Designer. There is no need to hop from software to software anymore!
For those new to Merch Informer and its in-built Designer, you’ll probably realize that you’ve landed on a gold mine once you play around with the software a bit. It not only helps you create a brilliant t-shirt design at the opportune moment, but it also gives you the ability to upload the design to a service provider of your choosing, enabling you to reach many, many more customers.
Merch Informer’s Designer Patterns
It’s easy to call something an all-in-one solution these days. Many brands go for this all-encompassing term, but they leave out important features and tools to help make your journey to creating your t-shirt designs as seamless as possible.
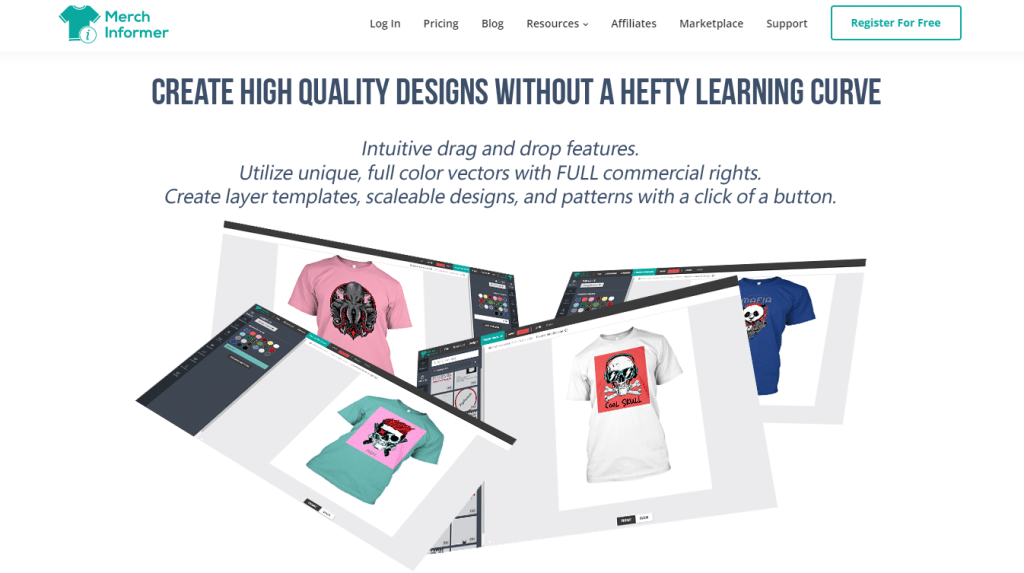
Merch Informer, on the other hand, literally is an all-in-one solution that helps you both start and grow your Merch on Amazon business. Few tools out there offer such a comprehensive array of offerings. But now that you’ve discovered it, let’s take a closer look at how the Designer tool works so that you can take full advantage of it.
As the name implies, the Designer is the part of the software that enables you to design the image you want placed on your products.
Here’s how it works.
You’ll need to sign in with your account and then select the appropriate product that you’ll be designing on. Think of it as choosing the canvas for your artwork. In our case, the chosen product is a t-shirt and we’ll show you just how you can make the most of its design.
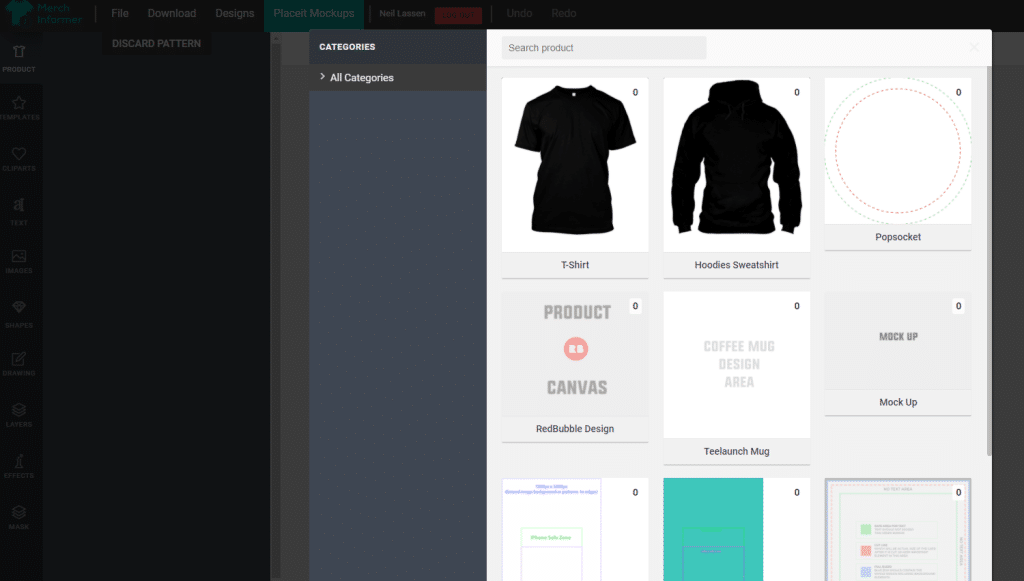
What the tool does is help you select your background color, upload (through drag and drop) images or use pre-existing shapes/pictures, and create patterns. This means you can create your design in Photoshop or other image-manipulation apps beforehand and simply paste it in your Merch Informer Designer.

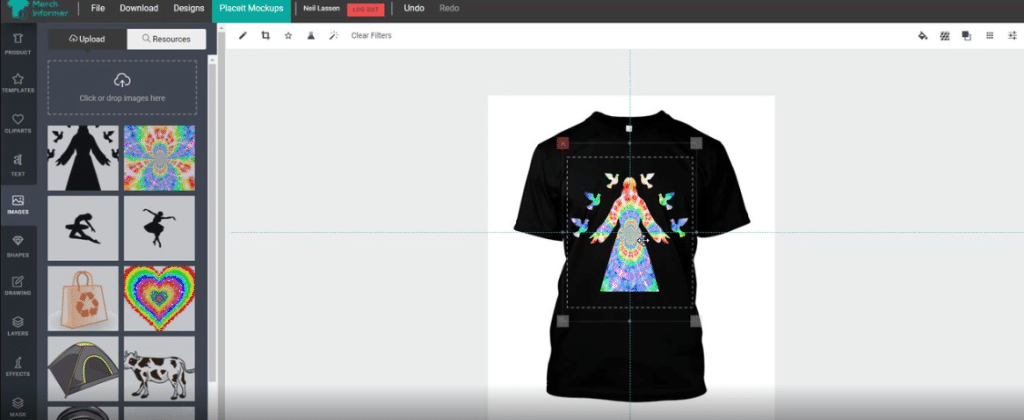
Once you’ve chosen a t-shirt to work on, you’ll see a selection of gridlines to help you position and center the design on the t-shirt. Remember, nothing screams poor quality than a design that isn’t centered. Now, it’s time to play around with the Designer. You can change the size of the design with your mouse or rotate a chosen shape to any position you like.
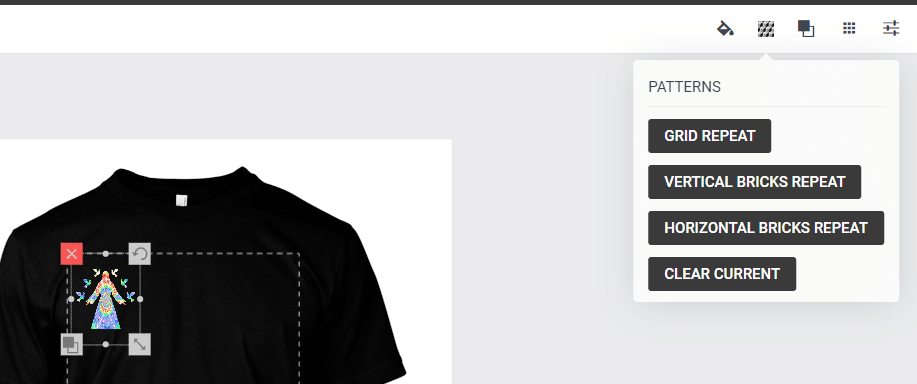
Next up, select a layer that you want to create a pattern for (if patterns are your thing, of course) and to make life a bit easier for you, in the top menu, you’ll see a few different options including grid repeat, vertical bricks repeat, and horizontal bricks repeat, which replicates the main image in a pattern on the t-shirt. Why is this so cool? Well, it saves you a lot of time on manual work by copying and pasting a bunch of different layers or creating patterns. Once done, all you need to do is click on “Download” and your design is basically ready. It can be as quick as just a few minutes. No more agonizing over your designs for days at a time.
Merch Informer’s Single Upload Interface
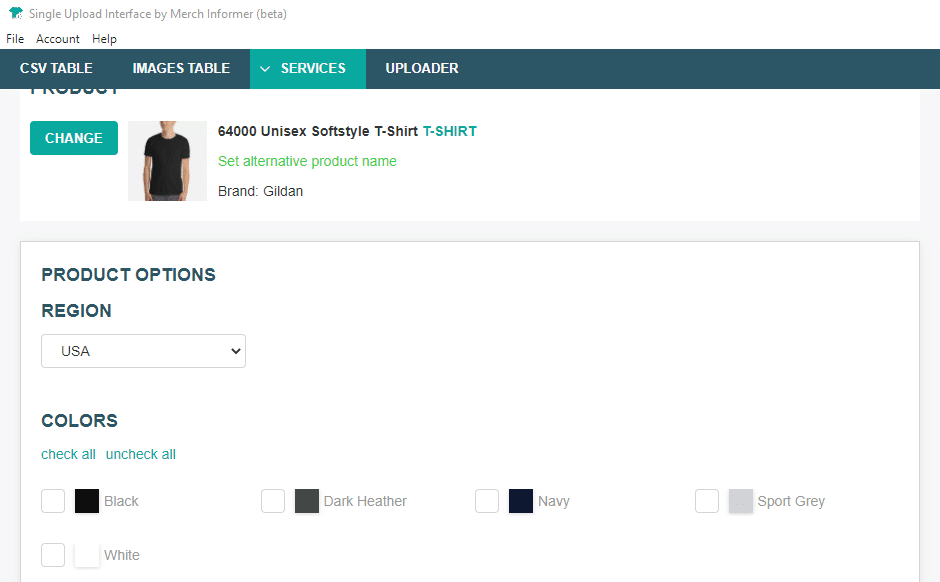
Now that your design is ready, it’s time to upload it to different print-on-demand (POD) platforms using the Single Upload Interface (SUI). Essentially, this Interface is going to allow you to take your product from Merch by Amazon or any other POD platforms and upload it across multiple different integrations. This simple methodology can help you expand your business 10 times faster with a few simple clicks and irrespective of whether you use a PC or a Mac.
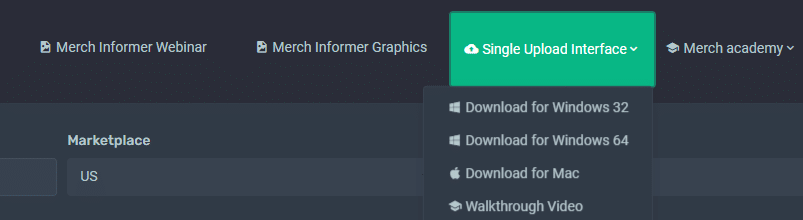
So, how can you get started? Begin by downloading the SUI and installing it on your computer. When done, you’ll see four simple-to-use tabs across the top. These are the CSV Table, Images Table, Services (which include Printful, Printify, Gooten, and marketplaces such as Teespring, Redbubble, Spreadshirt, Zazzle, and Teepublic), and of course, the Uploader.
Side note: Printful works across many different marketplaces such as Amazon, eBay, and Etsy and offers over 190 different products to choose from. What this translates into is if you have a single image, you can upload it to over 190 different products. Pretty neat, isn’t it? Meanwhile, Teespring and Redbubble also offer multiple products each (over 30 different products), enabling you to take full advantage of the design and products and sell across a wider range.
Now it’s time to create a CSV file with your designs. The order of your information doesn’t matter because later, you’ll be able to simply map it appropriately. For example, the information you may want to add to your CSV table could include things like a title, description, tags, price, and images. (Remember that although Merch by Amazon doesn’t use tags, many platforms do). And regarding images, if you don’t wish to add them to your CSV file, you can do so in the Images Table tab. Either way is okay.
Another side note: You don’t need to add anything to the Images Table if you’re adding an images tab in your CSV file.
Then you’re ready to upload. If you did not put headers in your CSV file, then simply “Upload to CSV”. If you did add headers, then upload to “CSV with Headers”. You’ll see all the columns from your CSV file in the Uploader.
You can move on to filling out some of the services. To start, simply enter the store URL and pick from all the variety of products they have available. Remember that there are pages and pages of these products, so you really are spoiled for choice. When you’ve chosen your product, it’s time to take the information from your CSV file, which you already uploaded, and map it. Then, select your colors and sizes, and add the files from the CSV table by mapping it correctly through the drop-down menu.
What this will look like in practice is for the option “Price” you simply need to select “Price” from the drop-down menu and it will align all the information from the CSV file which you uploaded. The same process applies for Teespring and Redbubble. You can also choose different languages such as German, French, or Spanish to reach a broader audience.
Now you’re ready to upload. Head over to the Uploader tab and select the services you want to upload to. You’ll see a preview of all the products for uploading. Verify that all the uploads will look great and click on “Start Uploading”.
All you have to do now is sit back and let the software do all the work for you. It will upload all the products on the platforms you’re chosen, and which are getting traffic and have an audience.
As a final step, to double-check that everything is okay, simply open the service POD platform you’ve chosen, log into your shop, and you’ll see that all the information you’ve already filled in has been uploaded.
And the beauty of it all is that it all happens with one click of a button. This will save you a huge amount of time and expand your business rapidly.
How Does The Designer Optimize Your Time And Efforts?
Customers are after quality and a pixelated t-shirt design is not going to go down well with them. Neither is a misaligned, non-centered image. Or even worse, an image that’s of poor quality. This is where Merch Informer’s Designer comes into play. It offers you a world of design tools at your fingertips, and what’s more, the ability to upload your products to various services with a few simple clicks.
This is going to optimize your efforts and reduce the time spent on designing and uploading.
Sounds easy? Well, it is.