How To Mask Images In The Merch Informer Products Designer
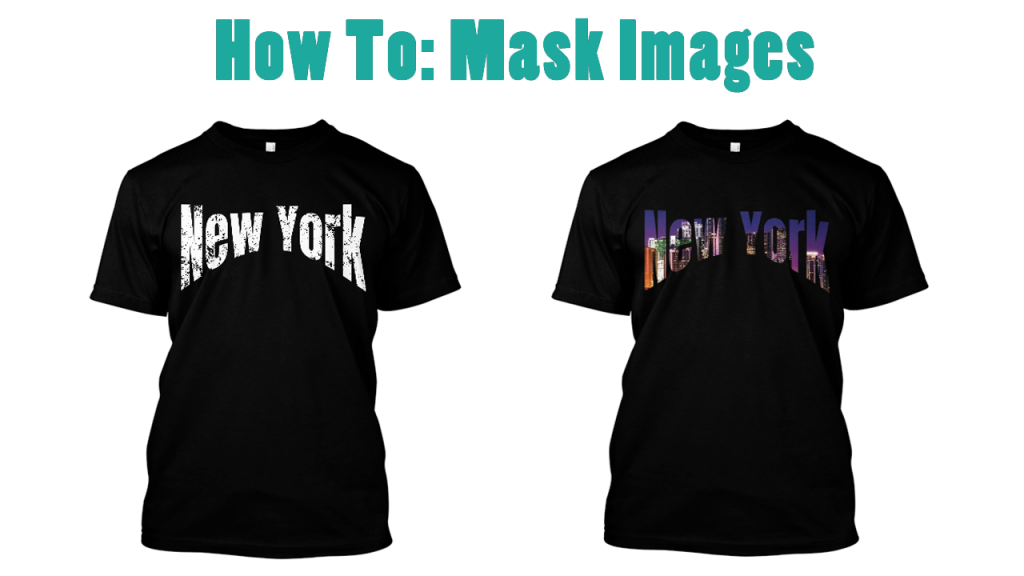
Masking an image is probably one of the most exiciting things you can do in the new Merch Informer Products Designer and something I have been playing around with the last few days. This feature is a little bit “hidden” so let me go through a few things you can do with it. If you have no idea what masking an image is, think of it as making the background of any text or shape a separate image.
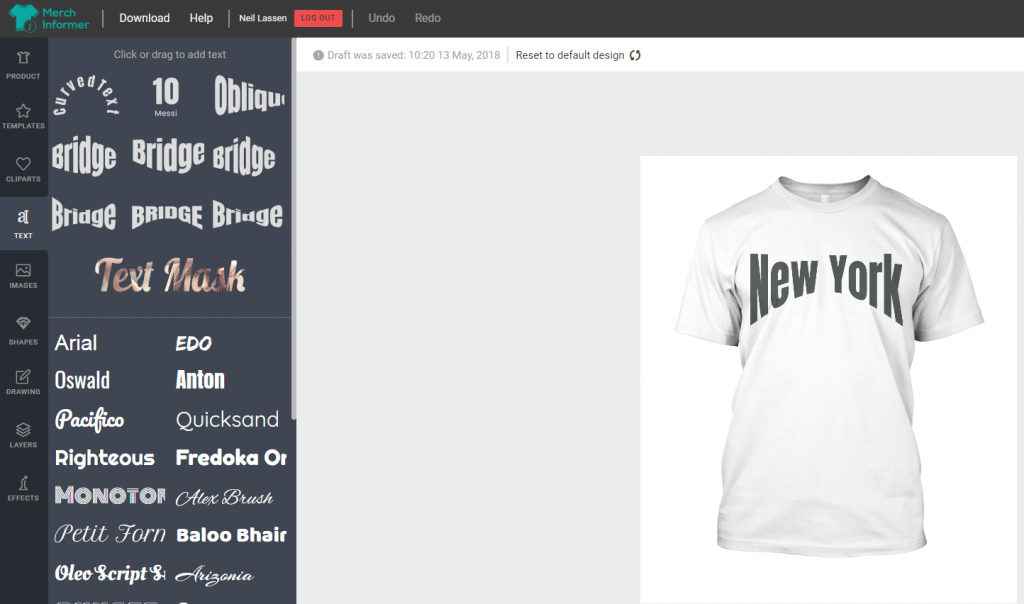
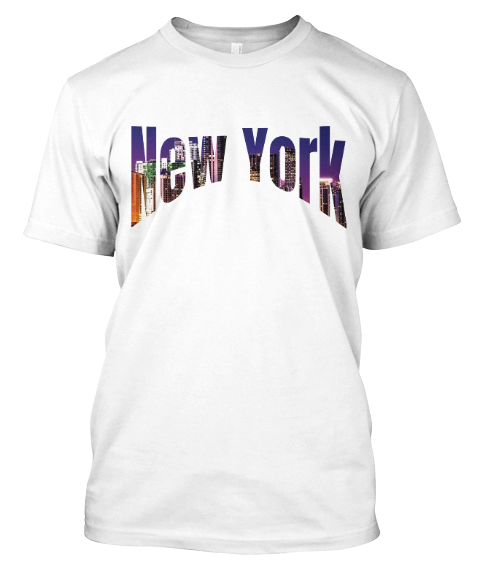
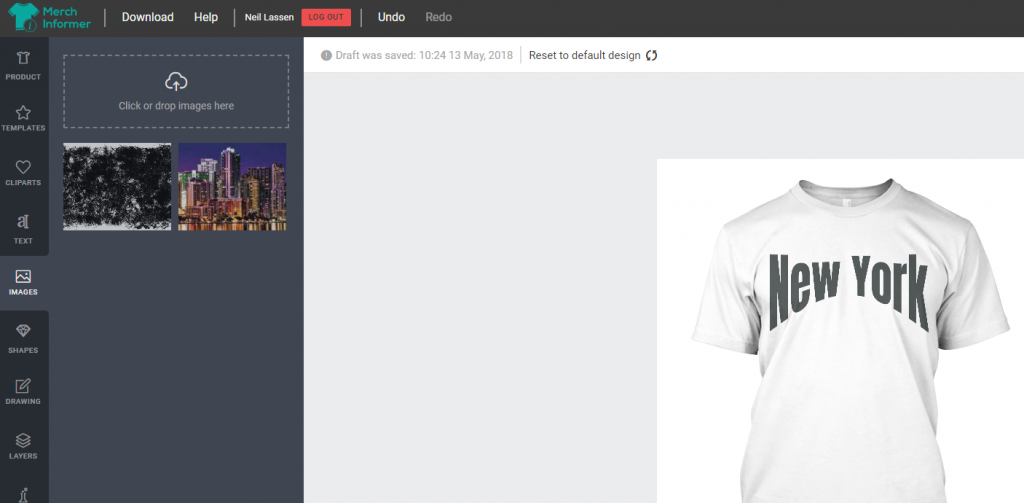
Step 1: Add some text
The first step is to add some text. As an example I am going to use the text: New York on a white t-shirt.
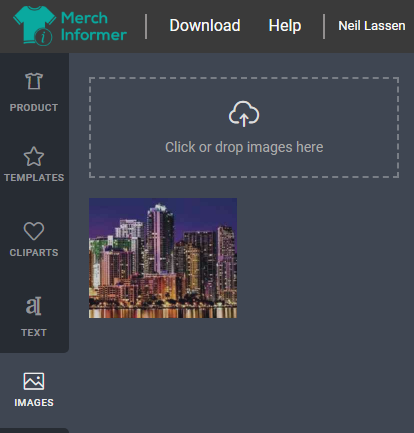
Step 2: Add your mask image
In the menu, select images. Drag the image you want to use as your mask image. We uploaded a small image of the New York skyline.
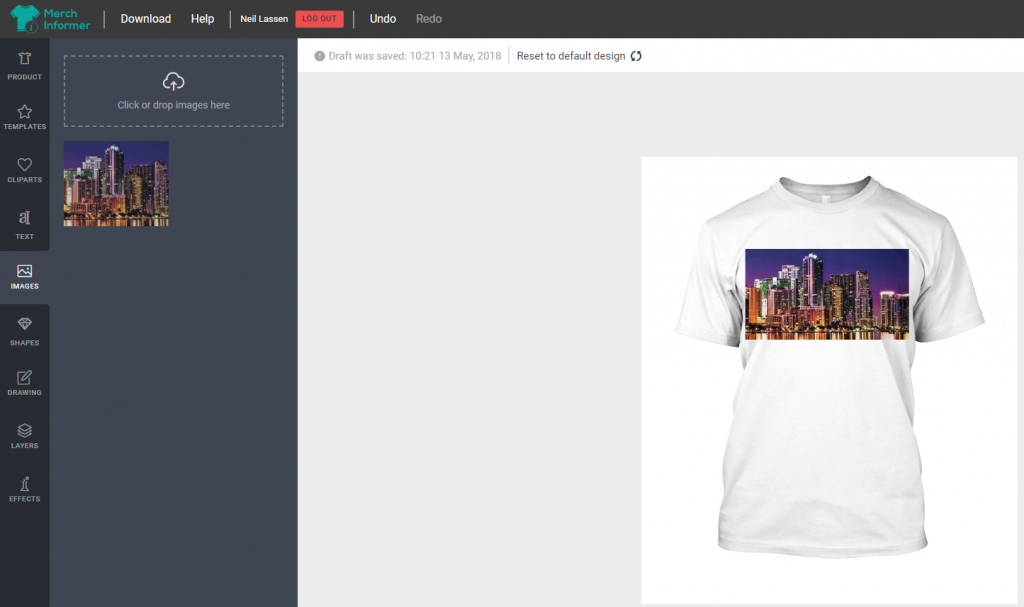
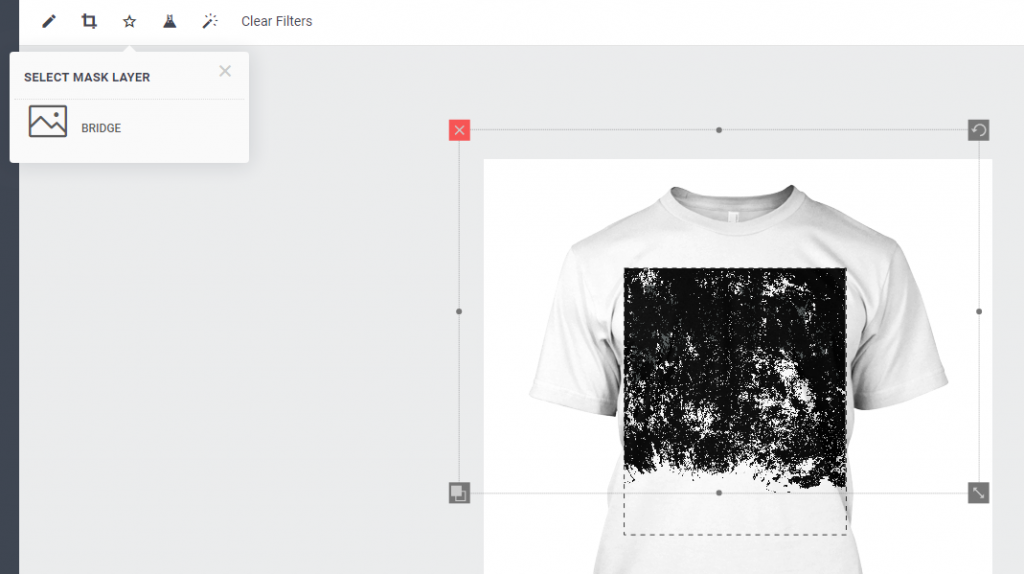
Step 3: Add this image to your shirt.
It will put the image OVER the text that you had on your shirt and will look like this:
Step 4: Select the image layer
From here, select the image layer and click on the little “star” icon that will pop up in the menu bar above.
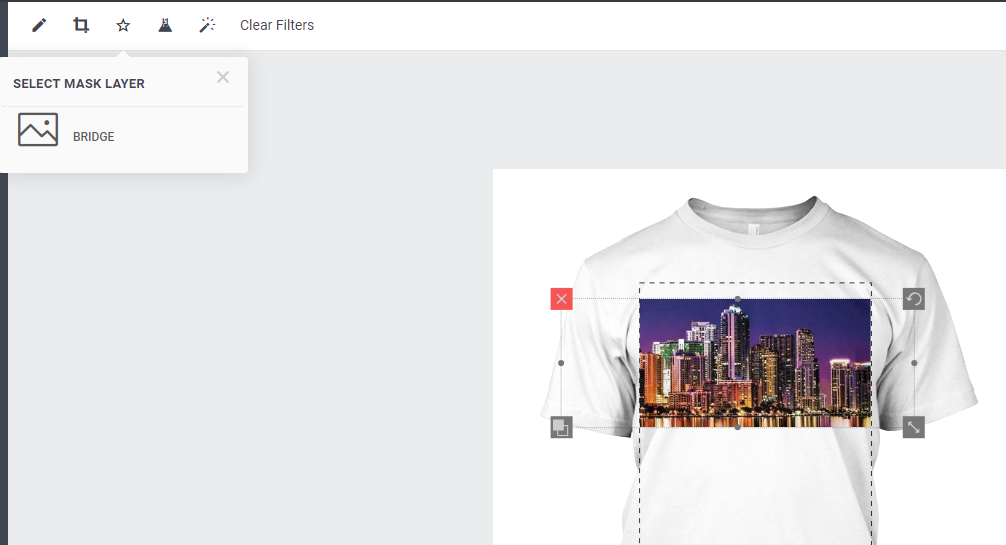
Step 5: Mask the layer
Once you have clicked the little “star” icon, you can select the text layer that is underneath. In this case, it was the effect “bridge” so we select that layer.
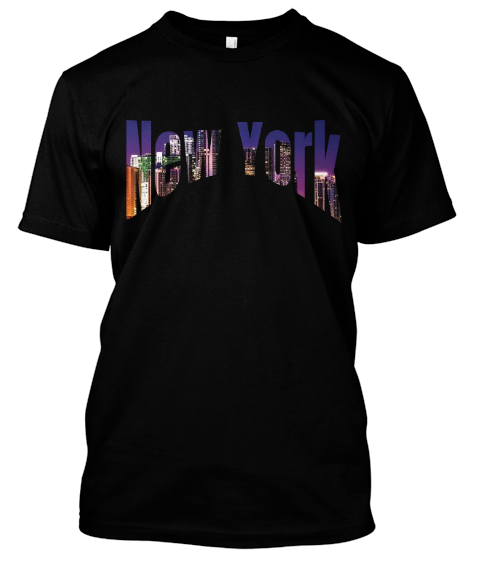
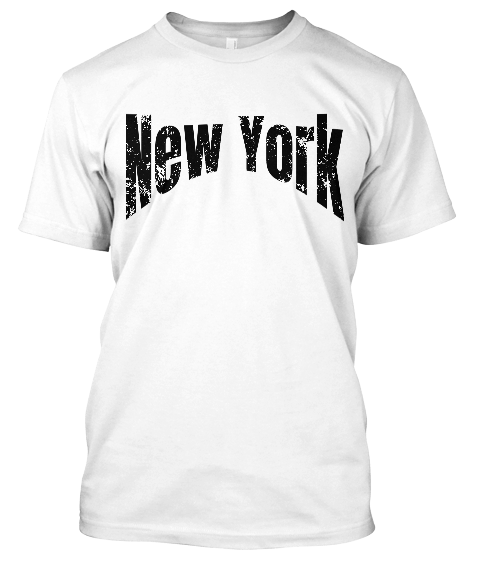
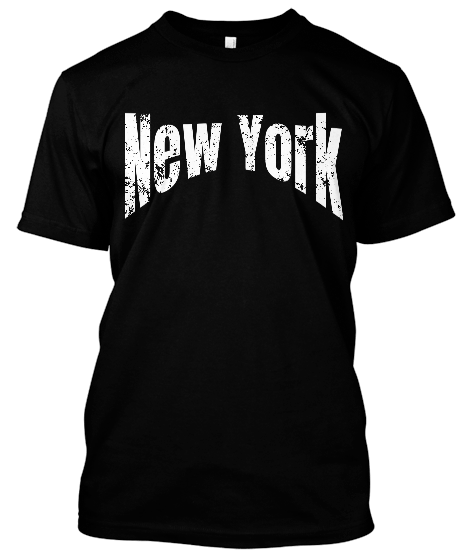
You can even play around with the color of the shirt to see how it looks on different colors. Remember when you download the image, it will be a transparent PNG you can upload to any platform.
New Distressed Technique?
You can also use this same masking effect to distress designs.
Here you can see I have the plain text and have upload a distressed png that you can find here: DOWNLOAD HERE
Simply add the image, resize it, and mask it!
Which will then look like:
Playing with the color of the text and the shirt color itself, we get some text that actually looks really good!
If you are more of a visual person, we created a YouTube video going over this here:


Neil, your making our designing secrets way to easy….
Neil – This is so helpful and answers my earlier questions. THanks for being so willing to share! You Rock!
Thank you for all the time and efforts you go to in order to help everyone learn so much.
Please help me understand why I should use this over Illustrator?
So far i was always pretty impressed by your tipps and tricks, but this one is not really usefull.
This is not meant to replace photoshop of Illustrator at all. This is a web based design program that we are giving to all Merch Informer customers for free as a value add to help create quick designs to upload to Merch. For more complicated designs or if you prefer a more in depth design program, by all means, use Illustrator. You can use this products designer on mobile and quickly when you come up with ideas. Different tools for different jobs.
Can you mask (distress) images too or just text?
You should be able to yes. I just added a rainbow mask to clipart: https://gyazo.com/4efa8f38d8ff4c23e2eae724d65adffa. It should work the same with distressed.
Thank you, thank you, thank you! For those of us who know nothing about illustrator or photoshop, this gives us a great option! You rock Neil!
Hello Neil,
Can you please explaine how to maske 3 rows of thexts, where each row has a different curve?Thank u!
You will want to add your text to the design, then go to mask in the left hand of the designer, and then upload 3 different masks (drag them over the parts of the text you want to mask, and then click apply).