From Art to SKU: A Simple Workflow That Keeps You Organized (Without Feeling Like a Factory)
Let’s be honest: “workflow” can sound like something that belongs in a warehouse, not on your kitchen table next to a lukewarm coffee and a laptop that’s been through things.
But if you’ve ever felt this kind of stress…
- “I know I made that design—where did I save it?”
- “Wait… did I upload this already?”
- “Which version is the right one?”
- “Why do I have three different names for the same product?”
- “I’m busy all day and somehow I still didn’t finish anything.”
…then you don’t need more hustle.
You need a simple system that keeps you organized without turning you into a robot.
This is that system.

And yes—you can run it as a stay-at-home mom, part-time creator, “I do this between school drop-off and dinner” human being. Because the goal isn’t to build a corporate process.
The goal is to stop losing your own work.
The truth: most creator chaos comes from one missing step
Most people think they need:
- better designs
- more products
- more time
- more motivation
But the real problem is usually simpler:
You don’t have a reliable way to move from “idea” to “finished listing” without getting lost in the middle.
So you end up with:
- half-finished drafts
- missing files
- duplicate uploads
- random naming
- and that awful feeling of “I’m working constantly but I can’t see progress.”
A simple workflow fixes that. Not by adding complexity—by reducing decisions.
Think of your products like meals, not masterpieces
Here’s a mindset that helps immediately:
You are not “creating art” every time.
You are building a repeatable product routine—like cooking.
You don’t reinvent dinner every night. You rotate meals you know work:
- taco night
- pasta night
- soup night
- leftovers
A POD workflow is the same:
- you create a base design
- you adapt it
- you list it
- you track it
- you repeat with small variations
If you treat every design like a masterpiece, you burn out.
If you treat it like a recipe, you build a catalog.
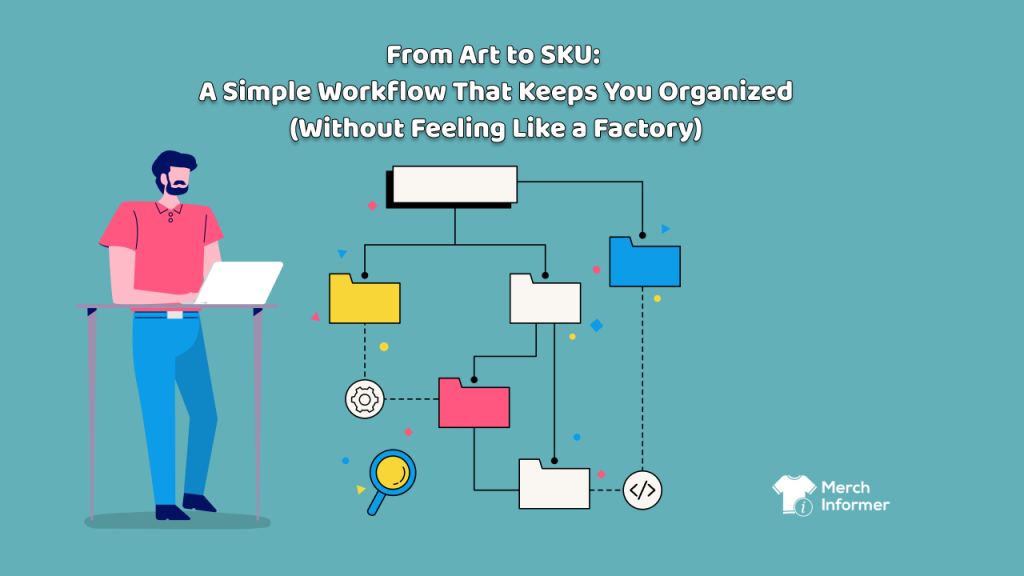
 The “Art to SKU” workflow (simple, human, repeatable)
We’re going to use five stages. That’s it.
Stage 1: The “Idea Parking Lot”
Your first job is not to create. It’s to capture.
Create one place where ideas go:
- a notes app
- a Google doc
- a notebook
- a Trello board
- anything you’ll actually use
Each idea gets one line:
- niche + phrase + vibe
Example: “Teacher / funny / coffee / minimal type”
This prevents you from mentally carrying ideas all day. Your brain is not a storage device.
Stage 2: The “Design Folder” (one design, one home)
Every design needs a home folder.
When you finish a design draft (or even a “pretty close” version), drop it into a folder with a clean name like:
Niche – Phrase – Version
Example: Teacher – Tiny Humans Smarter – v1
Inside that folder, keep:
- the source file (Canva/PSD/etc)
- the final export (PNG)
- a quick text file with the listing title ideas (optional, but helpful)
This is the “stop losing your work” step.
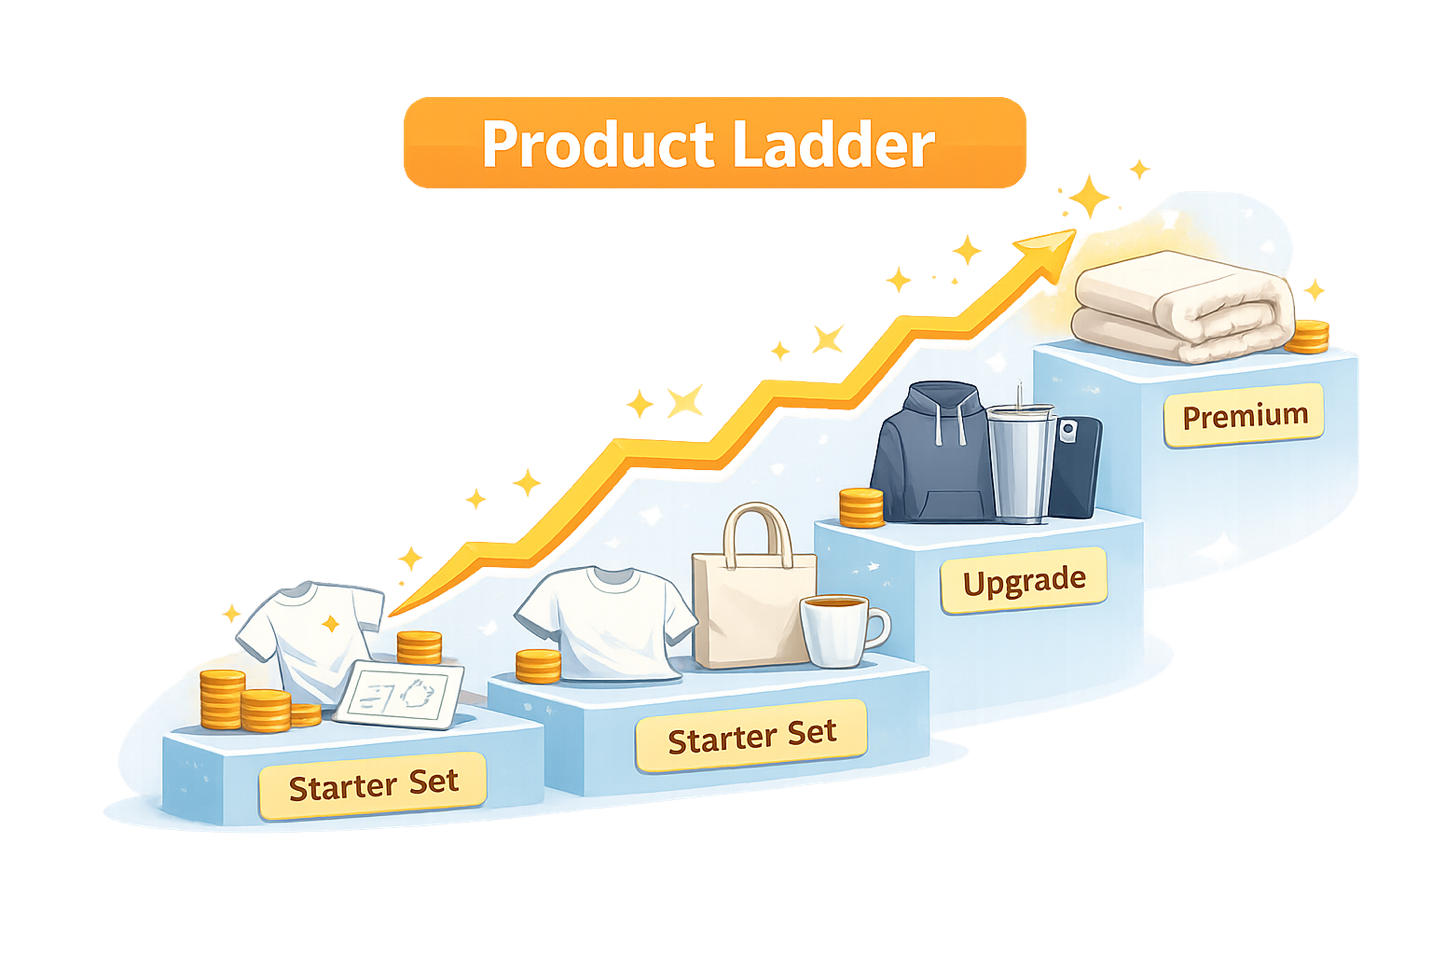
Stage 3: The “Product Pick” (don’t overwhelm yourself)
Here’s where people spiral: too many product options.
So you decide a default set.
Pick 3 product types you’ll always start with, like:
- shirt
- mug
- tote or sticker
That’s your starter ladder.
Later you can expand, but for now, your workflow stays calm because you’re not deciding from 80 products every time.
If you can make this choice once, you stop making it a hundred times.
Stage 4: The “Listing Kit” (copy/paste your way to sanity)
This is where organization becomes life-changing.
Make a simple listing kit template you reuse:
- Title format: Vibe + Niche + Product + Gift angle
- Description format: 3 short paragraphs (what it is, who it’s for, what they get)
- Tags/keywords: your standard set, plus a few design-specific ones
You don’t need to reinvent listing language every time. That’s like rewriting your grocery list from scratch.
Stage 5: The “Done List” (so you know what’s live)
This is the stage most creators skip—and then everything becomes chaos.
You need a simple tracker.
It can be a spreadsheet, notes list, or Trello checklist, but each product needs:
- Design name
- Where it’s listed (Etsy, Amazon, etc.)
- Status (Draft / Live)
- Date posted
That way you never wonder:
“Did I upload this already?”
You’ll know.
The mom-friendly version: do it in 15-minute blocks
If your day is broken up, this workflow is perfect because each stage is bite-sized.
- 15 min: dump ideas into the parking lot
- 15 min: finish/export a design into its folder
- 15 min: apply to 1–3 products
- 15 min: write listing using your kit
- 5 min: mark it “Live” in your tracker
That’s real life compatible.
You don’t need a 4-hour uninterrupted creative retreat to make progress.
Where Merch Informer fits in this (without getting technical)
Merch Informer becomes useful because it supports the discipline of the workflow.
Instead of thinking:
“I have to manually rebuild everything for every listing…”
You can think:
“I’m building a catalog, and I’m keeping it organized.”
When tools reduce repetitive uploading steps, your workflow becomes more sustainable—especially if you’re balancing family life and a thousand other responsibilities.
The point isn’t to become “more automated.”
The point is to become less scattered.
The biggest mistake: trying to be organized after you’re overwhelmed
Organization works best when it’s tiny and consistent.
Start small:
- one idea parking lot
- one design folder system
- one product starter set
- one listing kit
- one done list
That’s enough.
You don’t need a perfect system. You need a system that you’ll actually do on a tired day.
Because tired days are most days.