UPDATE: How To Resize Popsockets For Merch By Amazon

UPDATE! This script has been turned into a web based tool for FREE that you can use without any hangups with coding: https://merchresize.com/
Popsockets have been released on the Merch by Amazon platform and people are starting to have their accounts activated for these new products.
However, these are all a different size than we are used to for t-shirts and hoodies, and also have a bit of a learning curve with the bleed area. For those who have 100s or even 1000’s of images, resizing these is a seriously daunting task. Since we knew about popsockets WELL in advance and also added them to the product search module within the Merch Informer software, our good friend Greg Hesp has put together a script to resize ALL your images into the perfect Popsocket png. You might remember Greg being the guy who wrote the script to resize hoodies: https://merchinformer.com/how-to-resize-merch-by-amazon-designs-for-hoodies/ but this script is even faster because it does not rely on a 3rd party program like Photoshop.
Greg also wrote up the Merch Security extension which has saved me more than once on a mistype: https://chrome.google.com/webstore/detail/merch-security/abpndhikggdjpjpojilcochmpdjlhgbn
Warning! This is a bit technical so make sure to go slow, step by step, and watch the video if you get stuck on any of the steps.

Lets jump into it!
How To Resize Popsockets For Merch By Amazon
This is going to be a pretty short article because there are not many steps to follow. That being said, this can be a little bit technical so make sure to take it slow and if you get stuck, watch the video above.
Step 1: Download Node.JS
The first thing you will need to do is download Node.js. This is a Jacascript runtime build on Chrome’s V8 JavasScript Engine.
To put it simply, this is what is going to run the script to resize all your images while you sit back and watch!
Download Node.js here: https://nodejs.org/en/. Select the “recommended for most users” option and when the download is complete, install it on your computer.
Step 2: Download The Resize Script
You can download the resize script here: DOWNLOAD LINK.
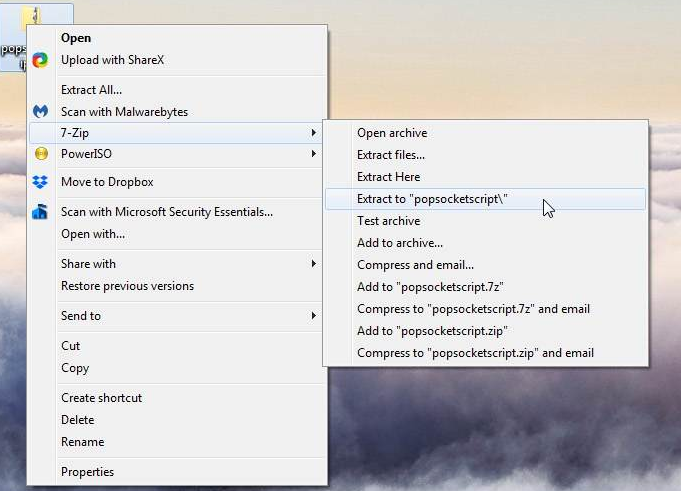
Once this file is downloaded, it will need to be unzipped. You can do so with a little program called 7Zip: https://www.7-zip.org/download.html.
Once you have a program to unzip files, simply right click on popsocketscript.zip and select “Extract to “popsocketscript”
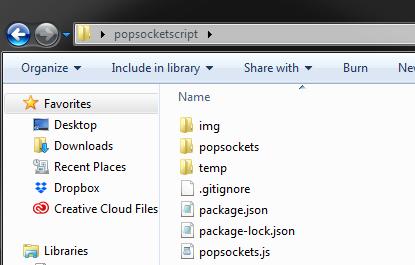
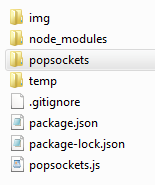
Open up the folder and drag the folder inside to your desktop. It will look like this when you are done:
Step 3: Install Node.js
Now that you have the script downloaded and unzipped to your desktop, you will need to actually install the software that will run the script.
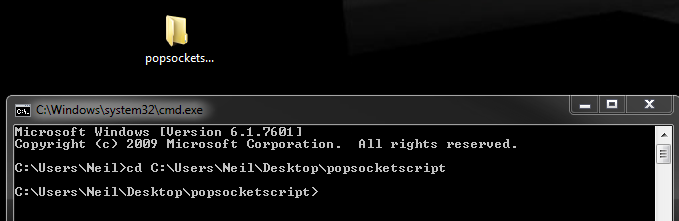
The way you do this is to open up the command prompt. On windows, you can click on the start menu, and type in “cmd”.
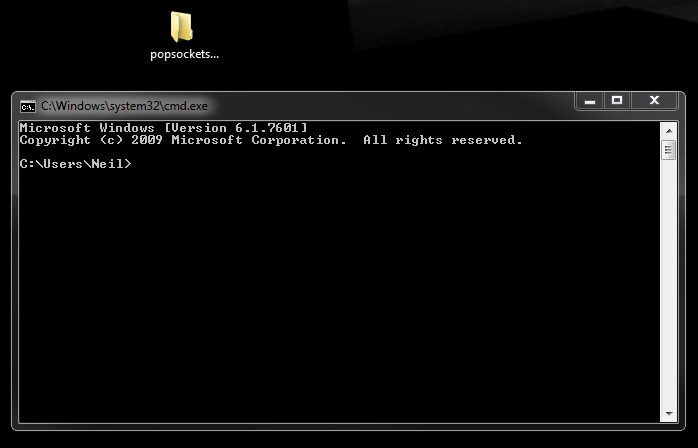
You will see in the image above I have my folder on the desktop, and my command prompt open.
In the command prompt, type “cd” without quotation marks, hit the space bar, and then drag the popsocket folder INTO the command prompt window.
It will look like this:
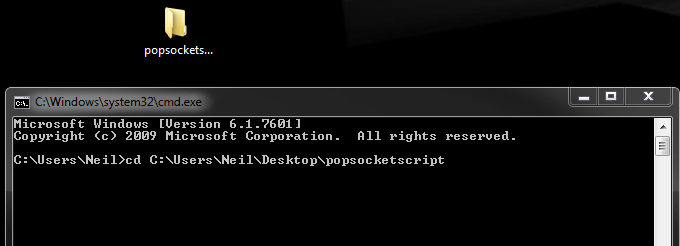
Hit enter on your keyboard!
It will now look like this.
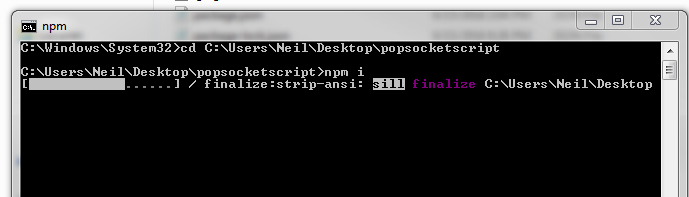
From here, type in “npm i” without the quotation marks. Once you type that in, hit enter on your keyboard and you will see that Node.js begins to install:
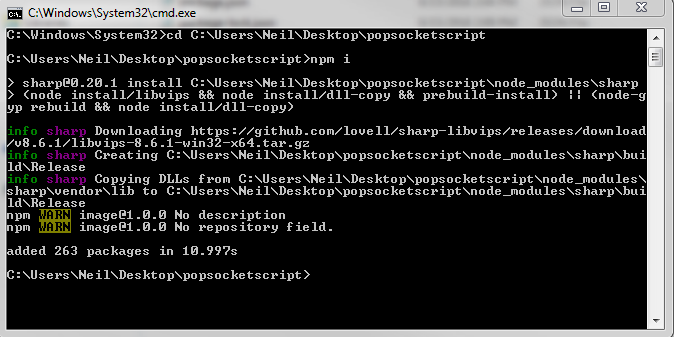
Once it is fully installed, it will look like this:
Step 4: Resize Your Images
Now it is time to resize all your images.
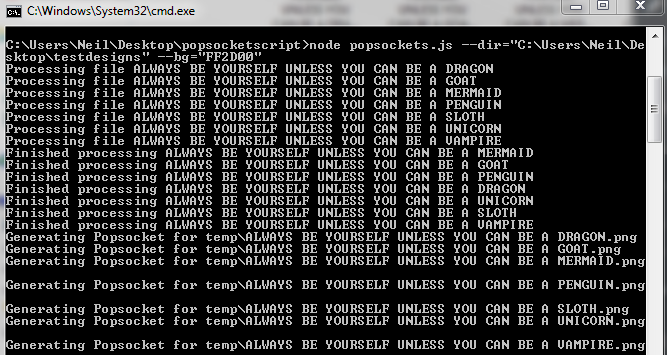
Make sure you have all the images that you want to be resized into Popsockets in a separate folder. Then, you will want to type in the following line:
node popsockets.js –dir=”C:\Users\Neil\Desktop\testdesigns” –bg=”FF2D00″
NOTE: after you type in –(two dashes together with no space)dir=” you can simply drag and drop the folder with your designs in it into the command prompt window. Do NOT type what I have above because that is my personal folder. Yours may be located in a different place. Finally, follow up the folder with an end ” mark.
NOTE 2: When you type in –bg=”……” everything between the quotation marks is actually a hex color code. In the example, I picked Red. You can pick any color you would like for the background of your popsockets. Black is what we usually go with. You can select hex colors here: https://htmlcolorcodes.com/color-picker/.
Once you have that line typed in, simply hit enter and let the script do its thing!
Step 5: Look at your designs
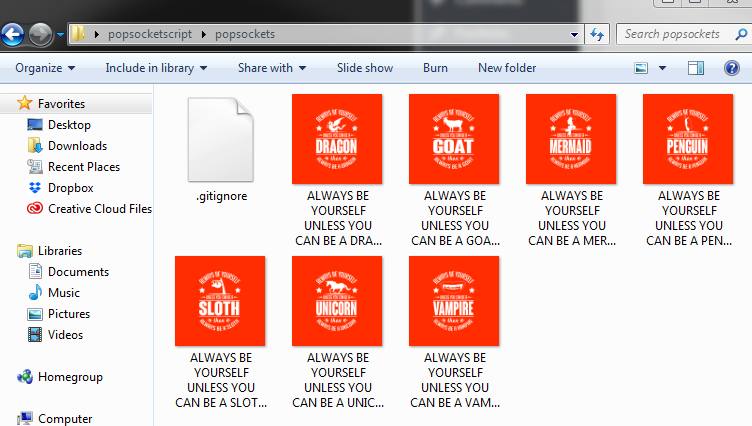
Once everything finishes up, all you need to do is open up the folder on your desktop that you unzipped near the beginning, and open the popsockets folder:
There are all your new popsocket images!


Hi, what would be the option for a Mac computer? Thank you
The Trash can!!
I too would like to know options for Mac user.
The creator created this script on the Mac. It works the same.
On a Mac, opening the command prompt (step 3) is different. You’ll need to open your Applications folder, then open the Utilities folder. Open the Terminal application. Then follow Neil’s guide. It will look different than Neil’s screenshots, but it does work. Works Great!
On Finder, click on Applications and then click on Utilities. Select the “Terminal” utility app. Once there, you follow the steps described by Neil. Be careful when dragging and dropping the folder into the terminal window. In my computer I had to re-type the folder path because it was inserting forward slashes in the wrong places. If you drag the folder into the terminal and the folder path looks correct, there is one more thing you need to change.
After you type popsockets.js, insted of 1 dash symbol you have to type two. It will look like this:
node popsockets.js –dir=
This should take care of it. Once you put the two dashes and ensure the folder path is correct, hit ENTER and watch the magic happens, thanks to Greg and Neil.
Not understanding the 2 dash symbol. When I type it onto my mac I see — and on these instructions it is showing .js -dir” (which looks like one dash to me).
After I complete this and hit enter all my mac shows is >. Any ideas?
Thats just how the font looks. It is double dash for all parameters.
Greg
Awesome guide, thanks for this!
great guide – I am daft though – are these forward slashes correct? /Users/garrywaller/Desktop/popsocketscript
Daftness subsided – got the script to install, and work on my mac as stated! all is good – Thanks everybody and thanks for the freebie, Neil -!!!
Just tried this – it works perfectly! Thanks so much, Neil!
One quick question. I tested this on just a few designs. If I want to run this script again to covert more of my designs, I’m guessing that I go back into the Command Prompt, type “CD” & enter. Then, pick up from Step 4 in your tutorial above. Is that correct?
Correct!
Love this idea… Having an issue… I got it all installed… but the resulting images are small (320×320 in the batch I ran first) and they are transparent backgrounds… I tried 000000 and FF0000 and both times the results were transparent… any suggestions?
Here is the line I entered (Niche replaced with XXXXXX):
node popsockets.js –dir=”C:\Users\steve\Dropbox\_Amazon Merch\Designs\WCI\XXXXXX\PopSockets” –bg=”FF0000″
Also if a hidden Thumbs.db file exists.. (that’s a file windows generates for thumbnails) I get the following at the end of the process:
Generating Popsocket for temp\Thumbs.db
(node:13136) UnhandledPromiseRejectionWarning: Error: Input file is missing or of an unsupported image format
(node:13136) UnhandledPromiseRejectionWarning: Unhandled promise rejection. This error originated either by throwing inside of an async function without a catch block, or by rejecting a promise which was not handled with .catch(). (rejection id: 1)
(node:13136) [DEP0018] DeprecationWarning: Unhandled promise rejections are deprecated. In the future, promise rejections that are not handled will terminate the Node.js process with a non-zero exit code.
Not a huge deal as it doesn’t seem to affect anything.. just thought you may be able to catch that error and ignore files that aren’t .png.
Thanks!
Make sure you are looking in the popsocket folder instead of the temp folder. In that folder they will be 485X485.
Disregard the first part of my message… I was looking in the temp folder at the finished files.. I see the correct sized with background files in the popsockets file… Thank you! 😉
One more suggestion… would be GREAT if there was an option to append text to the results filenames…. for example if I could append ‘black’ to a batch that had black background.. then run it again on the same files and and append ‘blue’ and create blue background ones, etc… 🙂
I was looking for this option as well. I tweaked popsockets.js to make this work for me. It appends the hex code to the end of the file name.
Open your popsockets.js in a text edit and replace this line:
.toFile(`./popsockets/${final}-popsocket.png`)
with this:
.toFile(`./popsockets/${final}-popsocket-${colour}.png`)
So, for example, if you select a background color of white (FFFFFF), the filename will end up as awesomedesign-popsocket-ffffff.png. You’ll now be able to run the script multiple times without worrying about filenames being overwritten. 🙂
Last step when i click “enter” for resize i get a massage:
“Specify a folder. Add –dir=”C:\Merch Designs”
I insert directory and still getting this massage
Make sure you are adding typing the cd line and then dragging your folder in first. This will specific the folder. You then install the script with the npm i line. Finally you can add the line for resizing all your popsockets.
Got the same Problem. Somehow its not working. getting the same error: “Specify a folder. Add –dir=”C:\Merch Designs” over and over again.
Followed exactly the tutorial. Of Course with different data names.
Cannot get it running.
make sure you are doing two “dashes” in front of “dir”.
What am I doing wrong? Please Help…
C:\Users\aaa\Desktop\popsocketscript>node popsockets.js –dir=”C:\Users\aaa\Desktop\shirts\xxxxxx”–bg=”fff000″
TypeError: Cannot read property ‘length’ of undefined
at ignoreFiles (C:\Users\aaa\Desktop\popsocketscript\popsockets.js:41:24)
at getFiles.then.files (C:\Users\aaa\Desktop\popsocketscript\popsockets.js:25:4)
at
I’m getting this error on my MacBook Pro:
Jeffs-MacBook-Pro:popsocketscript jcdesignstw$ node popsockets.js –dir=”\Users\user\Desktop\testdesign” –bg=”000000”
TypeError: Cannot read property ‘length’ of undefined
at ignoreFiles (/Users/user/Desktop/popsocketscript/popsockets.js:41:24)
at getFiles.then.files (/Users/user/Desktop/popsocketscript/popsockets.js:25:4)
at
Can somebody help me with this please? Thank you!
Hi Neil
I just can’t get this to anything on my Mac after I type all in as above
Should it work the same on Mac through terminal?
At the end when I hit enter just nothing happens just get > and nothing.
I am giving this a try but I am getting a strange error. I have tried moving my source image folder to different places in case it is a permissions issue. Please advise if possible.
TypeError: Cannot read property ‘length’ of undefined
at ignoreFiles (C:\Users\pitch\Downloads\popsocketscript\popsockets.js:41:24)
at getFiles.then.files (C:\Users\pitch\Downloads\popsocketscript\popsockets.js:25:4)
at
I have tried on multiple computers with mutiple different design files and mutiple file folders but I keep getting the error below. I glanced at the js code and it seems like it is coming up with a length of 0 for the files in the folder. I have tried with and without a trailing “\” at the end of the directory path. Not sure what to try next.
TypeError: Cannot read property ‘length’ of undefined
at ignoreFiles (C:\Users\pitch\Downloads\popsocketscript\popsockets.js:41:24)
at getFiles.then.files (C:\Users\pitch\Downloads\popsocketscript\popsockets.js:25:4)
at
why I can not download the images on the merchresize page
Make sure you are using it in an incognito window. It may be that you have a plugin conflict.
love the online script, but why are all my png images having a black background? even if I select yellow or any other color, only the outer edges are yellow, and the entire centre region keeps a black background. How do I fix that?
Hi Neil, Thanks so much for sharing another amazing tool but unfortunately, it dosen’t seem to work me after I type it npm i, it says ‘npm’ is not recognzied as an internal or external command, operatable program or batch file.
Any idea what could possibly went wrong? I’m using Windows 10.
Thanks so much
You need to install node.js.
If you are only doing a few, you can use this tool: https://merchresize.com/