How to Use AMS (Amazon Marketing Services) to Create Brand Pages
Now that AMS is rolling out to everyone, I thought I would take some time to do a writeup on one of the coolest new features there is: Brand Stores!
Brand stores are important for a few reasons. The major one is that you can use these to funnel traffic to your listings so you can give out your store link to anyone and they will instantly see your brand on Amazon, linking to every product you have. You can even set up a website and have that website direct to your store.
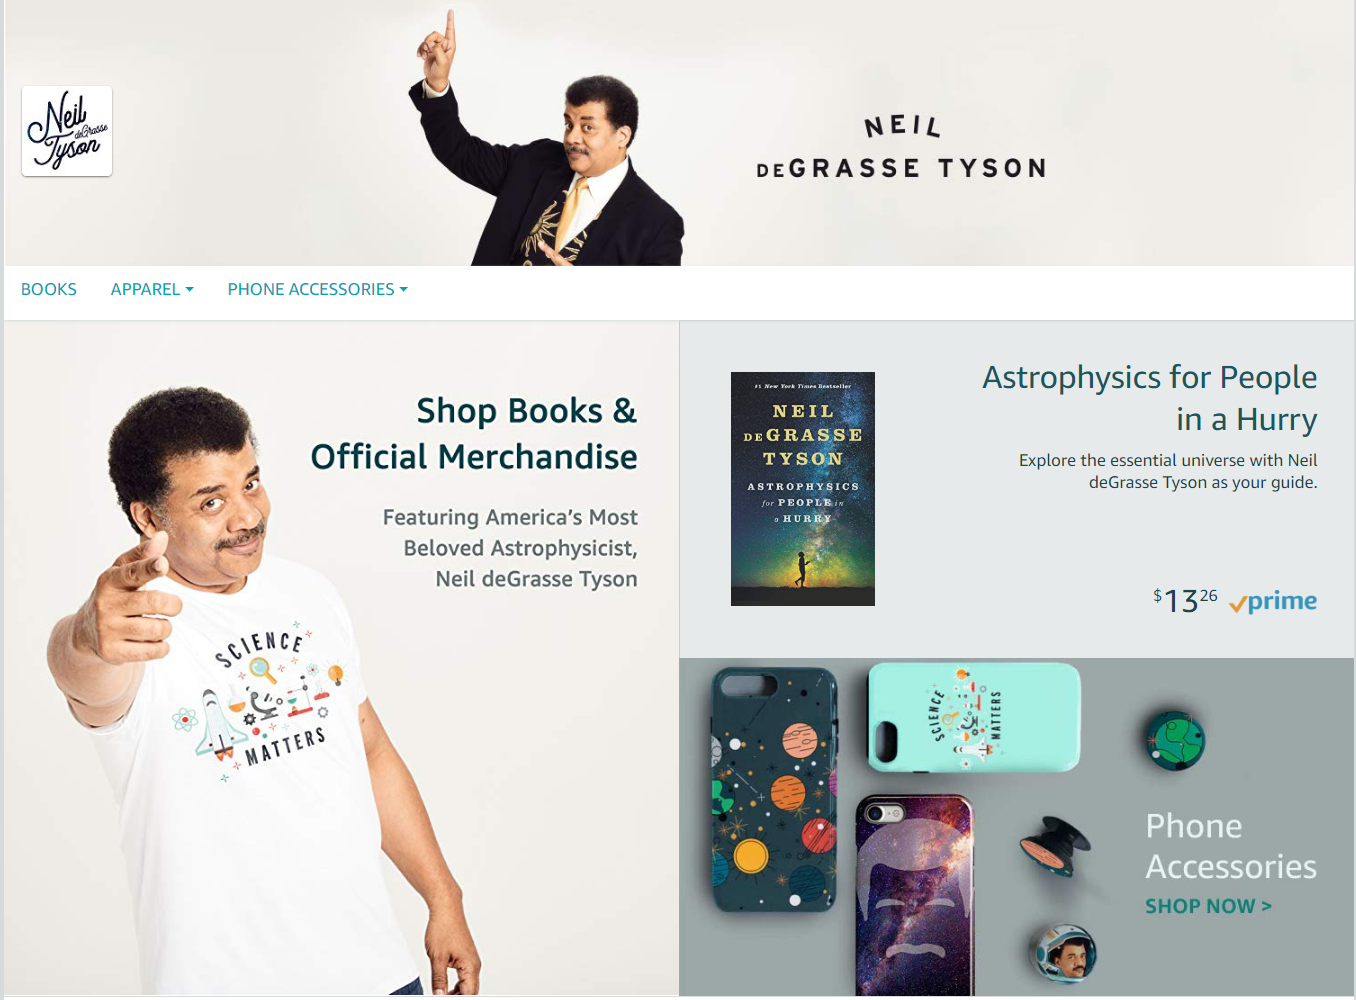
If you are not familliar with brand stores, they look like this: https://www.amazon.com/stores/Neil+deGrasse+Tyson/Neil+deGrasse+Tyson/page/C08C5673-6189-4501-9910-EE1BBD8C527F
By the end of this tutorial, you should be up and running with a brand page of your very own!
Let’s get into it.
Step 1: Open Up Stores
The first step is to actually just log in to AMS (Amazon Marketing Services). If you have not been approved yet, make sure you take the time to go through the instructions on our AMS guide here, and then wait for the email that says you were approved.
After you are approved, click on the stores tab in the top menu:

The stores page basically tells you exactly what you will be creating as well as getting your own branded page ON Amazon for your clothing.
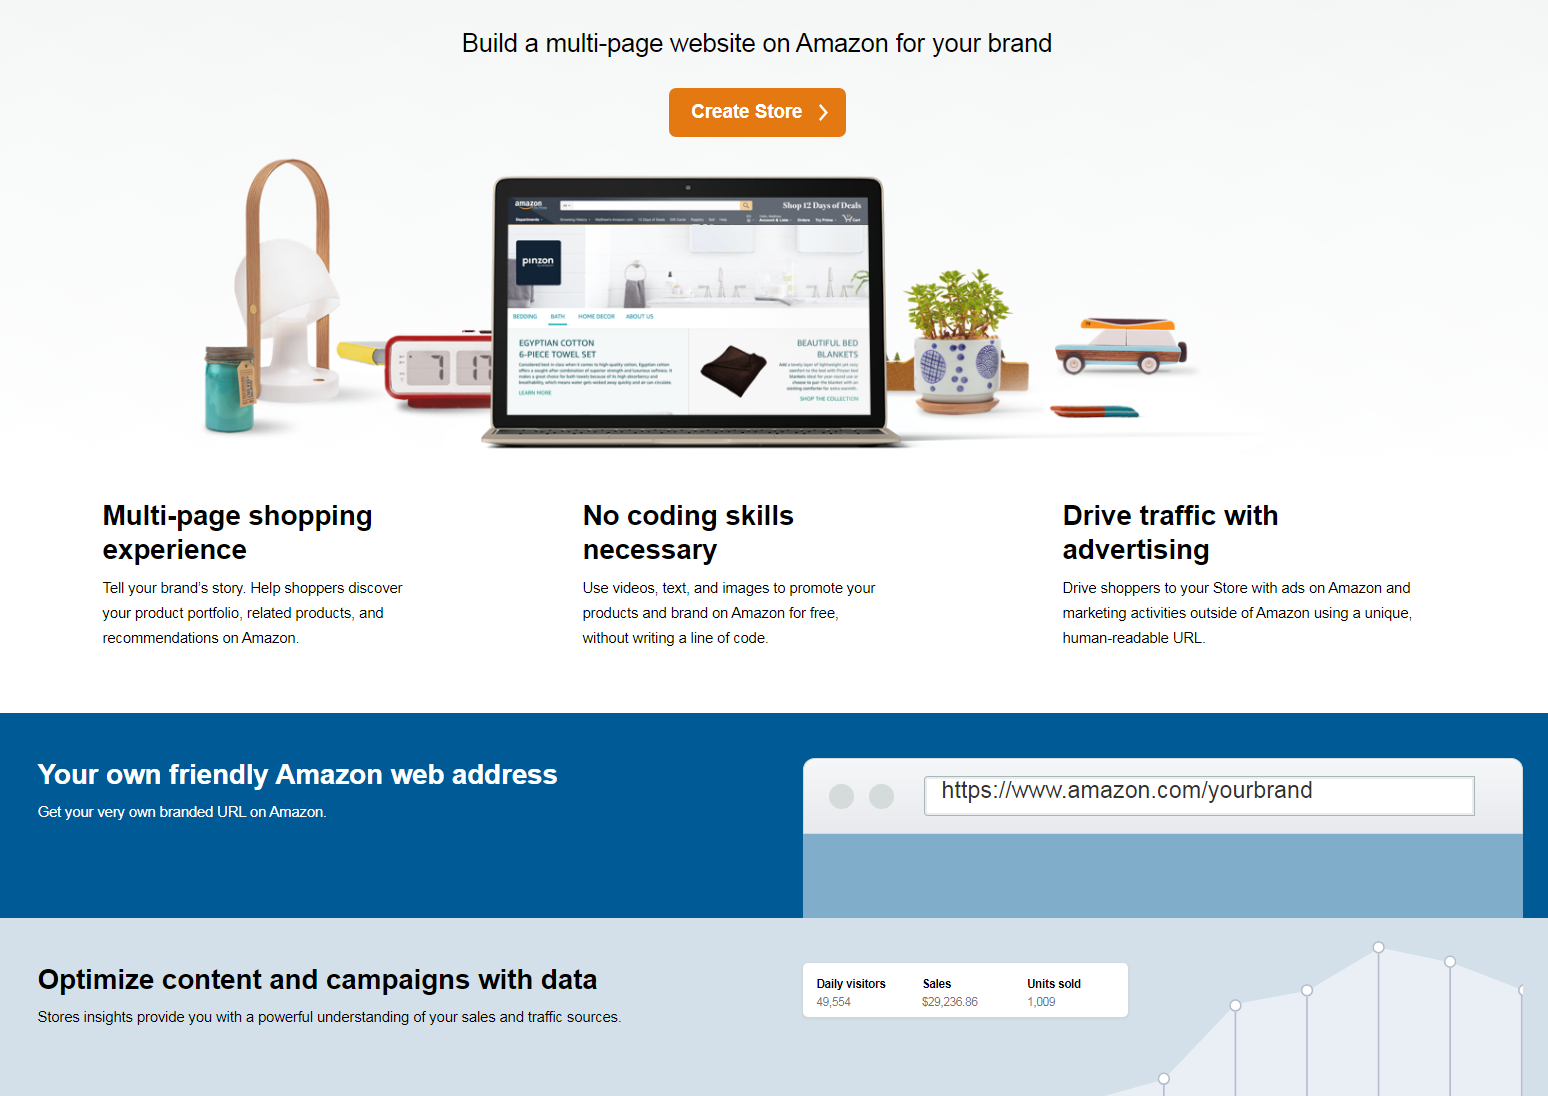
Once you are ready to actually begin the process (it does not take long!), then click on the orange “create store” button.
Step 2: Creating Your Store
After you get into the store builder, everything is pretty straight forward.
The first thing you need to do is edit some store settings:
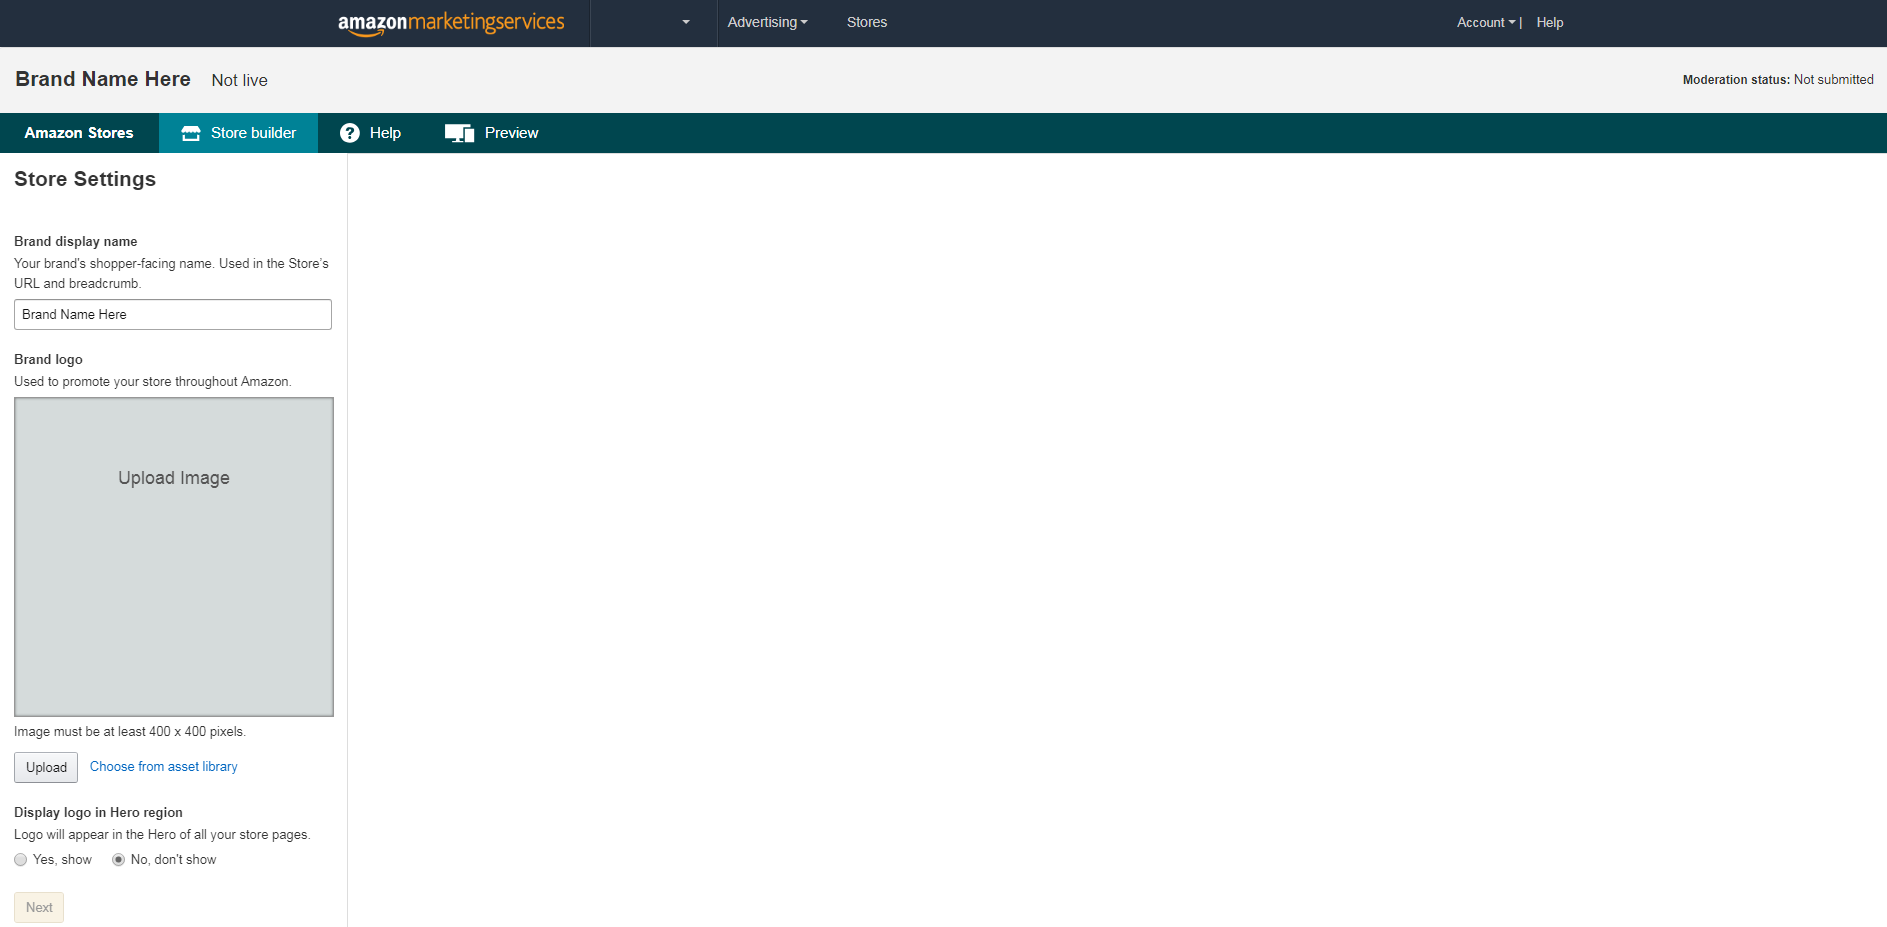
Add a brand name, a brand logo, and then any tags that describe your store below. You will want to have a brand logo already created as well as a banner for the top of your store. Make sure sure the logo is high quality and at least 400X400 pixels.
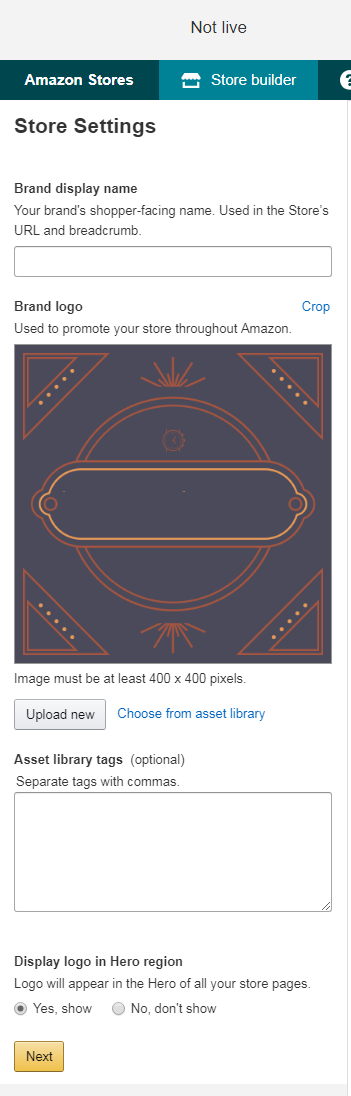
Click on the next button and this is where the fun actually begins. You can start to create your branded store!
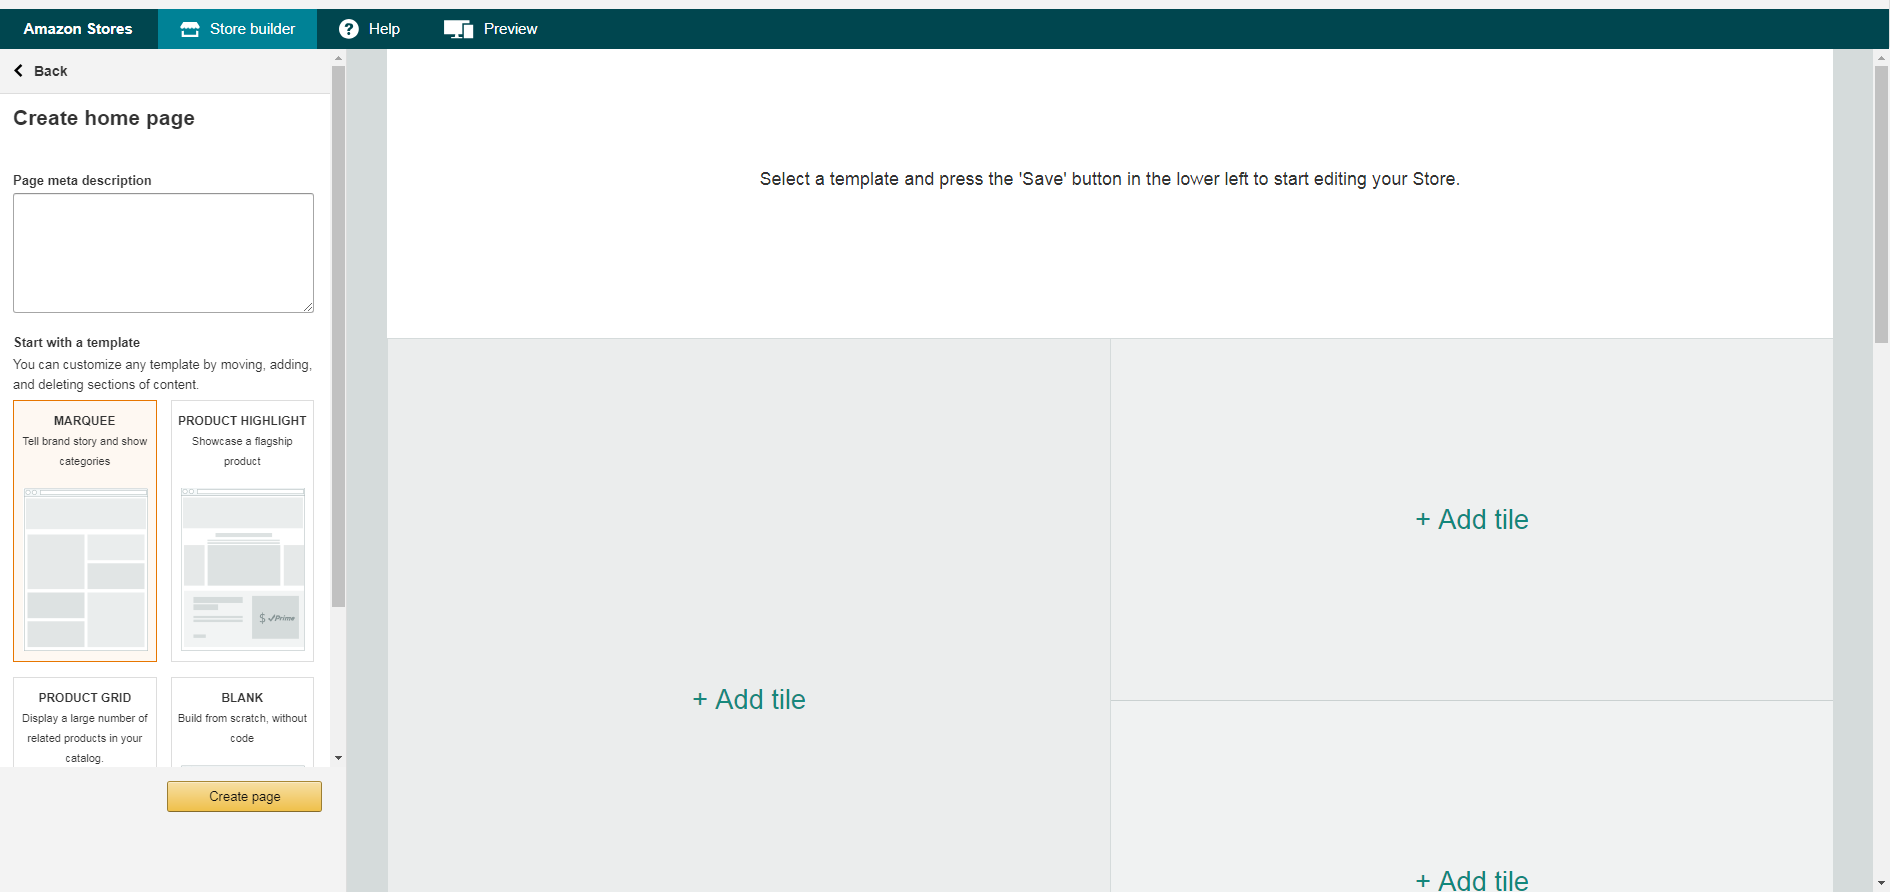
The page meta description is what will end up displaying in Google when someone searches your brand and this Amazon page is ranked. Just enter a sentence or two about your brand and what it represents.
Then you get to start with a template. I went ahead and picked the first option which is a Marquee. You can pick whichever template you like best!
After you have those two things selected, simply click on the create page button at the bottom of the screen.
You then will want to fill out the sections of the template that you selected.
First, upload yourself a banner at the top. You will want to make sure that these banners are 3000X600 pixels.
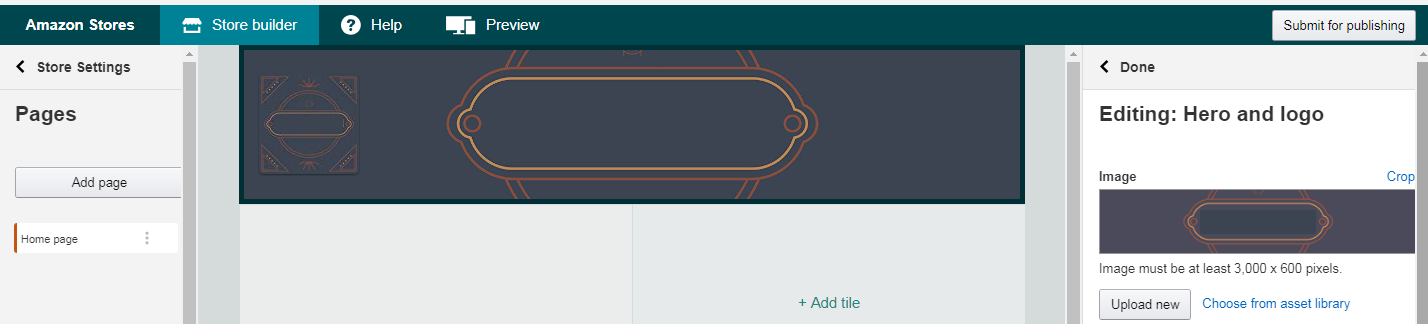
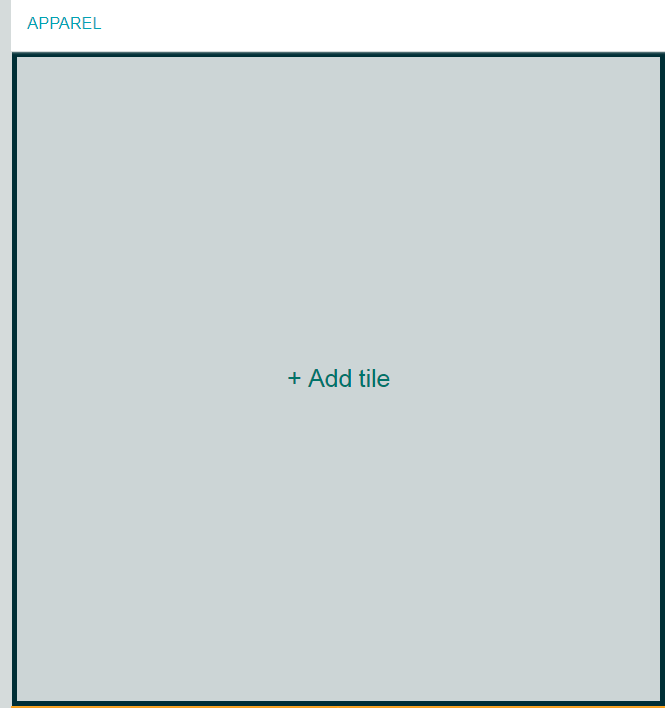
Click on “done” in the upper right hand corner. This will bring you back to the main page where you can then begin filling out all the tiles.

Click on “add tile” and on the right hand side of the screen you will be able to add products. By clicking on product, you simply need to add an ASIN. You can get the ASIN in the URL of any of your shirts right after /dp/. It will look something like this: amazon.com/title of the shirt/dp/ASIN. Grab that ASIN and add it to your new store page.
Play around with all of the options you have, they each look slightly different and offer different options.
Depending on what template you pick, you will need to add a main template image.
I would HIGHLY recommend that you get a mockup of a model wearing your shirt. You can do this via placeit and clicking here.
Add Pages
After you are done editing up and linking your front page to different products and making it look nice, I would highly suggest adding different pages to your store!
You can do that from the side menu:
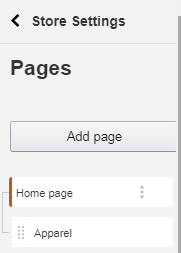
Each of these pages can have a different clothing category. You can make a page for t-shirts, one for popsockets, so on and so forth:
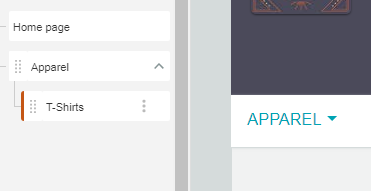
You will see that on the mockup to the right, it will actually give visitors a drop down menu.
The way to you get this drop down menu instead of different categories going straight across the screen is to simply drag and drop the categories from the left so they are categorized like a tree. This is exactly the same way the Merch Informer favorites work!
Step 3: Submit Your Page For Review
The final step here is to simply submit your page for review on Amazon.
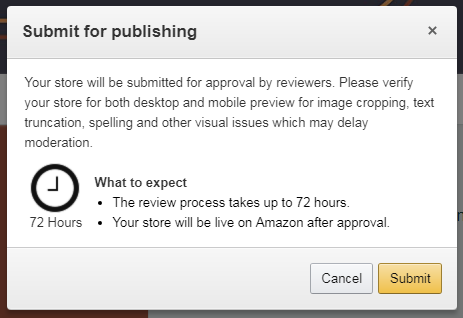
You may need to wait 72 hours, but from our testing, these are going through in a few hours currently!
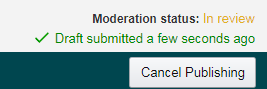
You will know that it has been submitted when you see this up in the upper right hand corner:
Store FAQs
I will be adding to this FAQ section as time goes on.
Can I have more than 1 brand page?
Before I get a ton of different comments asking if you can have more than one brand page, the answer is YES!
On your main “store” page by clicking on the store tab in the top menu, you will see something like this:
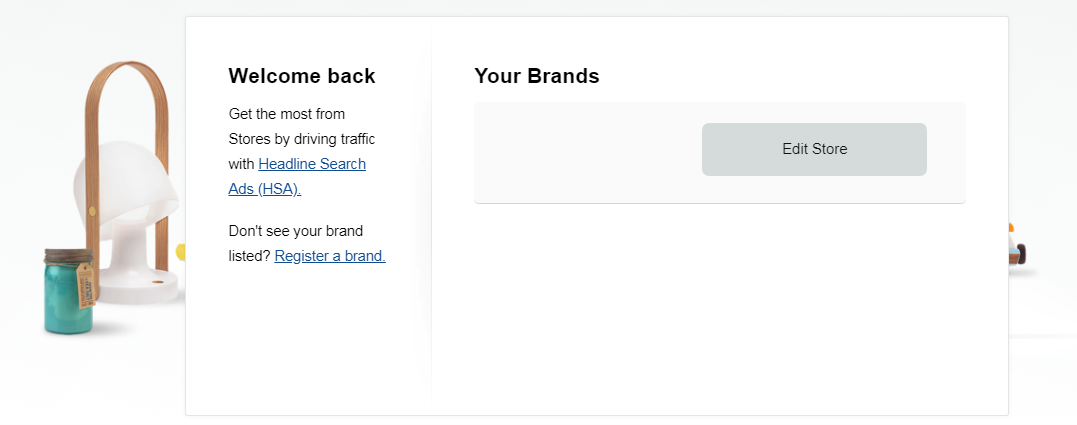
As you can see it tells you to register a brand if you do not see your brand listed, but this simply brings you back to the SAME page.
The trick here is to go into the upper right hand corner, click on “brand management” and then add a brand:
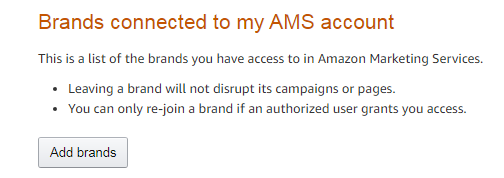
So to answer the question, you can have as many different store fronts as you want as long as you actually have multiple brands.
Wrapping It Up
That about wraps up the process of creating your own store on Amazon. This can be used for so many things, but running traffic, funneling that traffic, and building an actual presence on Amazon is going to be a powerful tool going into the future.
If you have any other questions, make sure to drop them in the comments below!
Good luck
In step one, there isn’t a link on the word “here” in this section – . If you have not been approved yet, make sure you take the time to go through the instructions on our AMS guide here…”
Thanks, that should be fixed now!
Thanks!!
Is this new? I have been using AMS for a year and have not noticed this!
You have to be brand registered to use this before. So essentially, yes!
I have AMS account through vendor express do you think i have to create new one? it is confusing for me.
I would go ahead and follow these instructions under a new email as they are consolidating accounts it seems.
Hey Neil,
great stuff as always! Thank you!
Question regarding paid advertising for our stores:
In the FAQs Amazon is encouraging to drive traffic to the store page with the help of paid advertising. Makes total sense! But do you know if it would be allowed to use an Amazon affiliate link in an Google Adwords ad for your Amazon store? Since I cannot use the Google conversion code on my Amazon page I would like to have at least one method to measure the activity which is coming through Adwords.
I’ve been searching for an answer all over the place, but since not a lot of people are using stores at the moment it’s kinda hard to find information on this topic!
Thanks in advance!
I believe this is not allowed in the Amazon affiliate TOS. The way around this would be to put your shirt son a website, and drive traffic to the website if you are going to be using Adwords. Then you can track click through rate at the very least.
Neil… great post thanks. Do you know with AMS and the brand stores now available if the extra pages in your store are just different categories ie… t shirts, hoodie etc or can your additional pages be broken up into niches like taco shirts and dog shirts? With the new push toward branding I was curious if Amazon was still ranking higher with your brand being brand + keyword or not since their guidance says Brand should be your brand and Title should be brand + keyword… just curious if you had seen any change.
I have not seen anything with ranking differences. You can add additional pages for niches inside of your brand stores if you want!
I used my real name for the brand, now I want to change it, how do I do that?
In the upper right hand corner of AMS, go to brand management, and add another brand.
I have had signing up for AMS on my radar for a bit now, but have neglected it. If we have been using the strategy of using a different brand for every design, can we still use AMS? I have gotten part way through the sign up before, but didn’t know what to do when it asks for the brand.
Yes, you will just need to add each brand to the account. Pick one of the brands that you use when you sign up.
Can I use the email that I used to set up my account? I use [email protected]. Can I just drop off the @.com or should I create a separate name like Glenn Drake T shirts or something like that?