Using PlaceIt Mockups For Pinterest Marketing
By now, everyone probably knows that Merch by Amazon has currently shut down their USA printing facilities because of COVID-19. Just recently Merch by Amazon let us publish drafts so that we can get ready to launch products as soon as they are back up and running.
During this time, many people have decided to stop working on their print on demand business completely.
Here at Merch Informer, we like to focus on things we can actually control! There is going to be a good opportunity to set some things up so that by the time that Merch gets back to normal, we can get ahead of everyone else!
So, with that in mind, let’s go over one of my favorite ways to drive traffic for FREE (no paying for AMS ads that may or may not work), which is Pinterest!
Pinterest Marketing
By far the easiest way to drive traffic to Amazon listings is Pinterest. This is a FREE social platform that we have written about many times in the past.
I don’t want to bore you with all of the small details, so make sure to read through some of the old articles we have on this subject here:
Leverage Pinterest Marketing To Sell Your Merch by Amazon T-Shirts
Pinterest Research Is The Most Underused Merch by Amazon Method
Why Pinterest works so well is that it is a VISUAL search engine with people who love to purchase things they see on Pinterest.
Guess what? We are selling goods on a visual medium! This makes the perfect combination when it comes to getting people on our product pages.
So, before we continue, make sure you check out the articles above on how to set up and run an account.
Visual Medium
Because of the visual nature of Pinterest, in order to properly drive traffic there over to Amazon, we have to make sure that the images we post are actually exciting and catch the users attention.
Now, you could just share the Amazon mockup…but let’s be honest, they are terrible.
Amazon mockups do a great job of showcasing the design, but that is where it ends. The user is not able to visualize how it would look on an actual person. The potential customer has no idea what this shirt/design would look like in the real world at all, and that is a detriment.
When you are running ads or really just trying to get a customers attention, you have a SPLIT SECOND to grab their attention before they are gone. This might even be less as users are scrolling through their feed just poking around. You really need to make an impression.
So how do we do this?
We are going to use lifestyle mockups!
Introducing PlaceIt – Unlimited Realistic Mockups
I have included Placeit.net in multiple articles up till this point but they have always been (in my opinion) too expensive.
If I remember correctly, it used to be $39.99 per month and you were only allowed to download X number of mockups. This made is almost unusable for any Merch seller who has been around the block and has more than a couple of designs.
It was a great service, but not the proper execution.
However, it turns out that the company was purchased by a MAJOR brand – Envato. This happened mid 2018 and since then they have made some really impressive changes.
We spoke with someone at the company about all of this recently, so I began using it again.
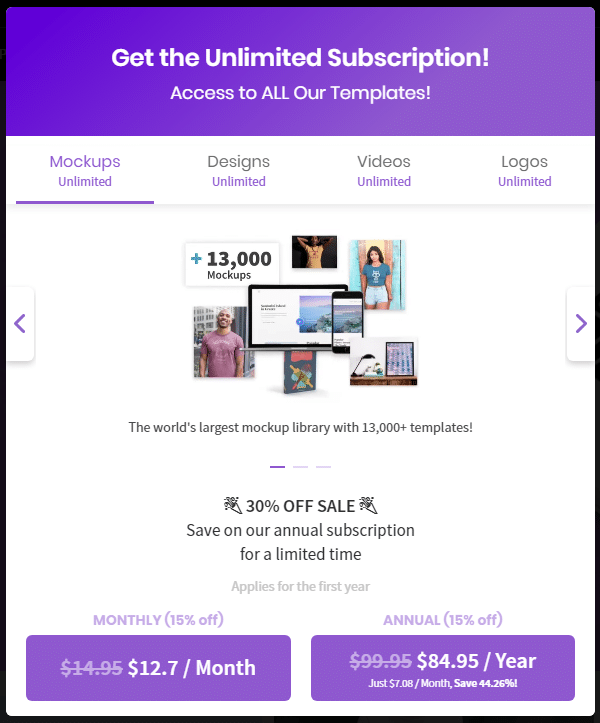
No longer is the subscription crazy expensive, but you are no longer subject to X downloads per day/month. In fact, they made it REALLY cheap: $14.95 for unlimited downloads. We bugged them a bit, and they dropped it down to $12.7/month for unlimited downloads!
While they offer an unlimited number of mockups from over 13,000 different templates, they also have designs, videos and logos. Because we have been setting up some Pinterest profiles, and those are for images, let’s go over how all of this works!
Grab a PlaceIt.net account above, and let’s get started!
Creating Stunning Mockups – Easy Mode
Before we get started in creating some awesome looking mockups, we need a great design that we know will sell!
First thing you should do, is log into your Merch by Amazon account, and pull your reports. This will show you the best selling designs you ALREADY have up on Amazon (so you can grab the links to them). Merch may still be shut down, but we have data to use. Grab those designs and put them into a folder.
Second, if want to create some new designs, head on over and pick up a Merch Informer account. This will allow you to make use of our drag and drop design software.
We already have some mockups generated from our best sellers, so we are going to go ahead and create a quick design in the Merch Informer designer.
Step 1: Create Your Design
If you already have a design, you can make slight changes to it in the designer as well which is what I am going to do.
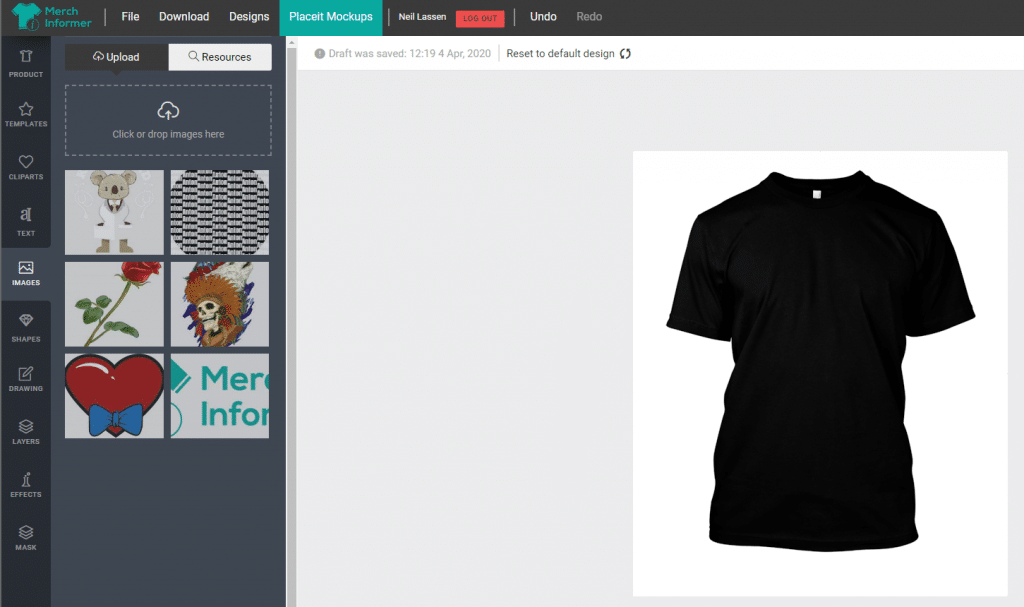
Start by heading over to the Merch Informer designer and log in with your credentials. We are going to create a t-shirt, so select the t-shirt template.
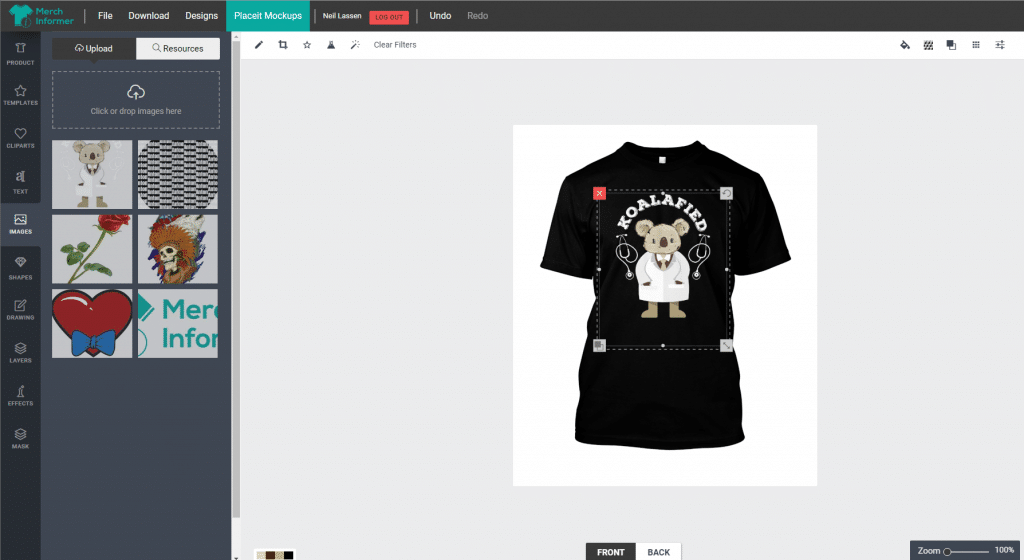
Once inside the designer, head over to the images tab:
Drag and drop your design or elements to upload them. Once they are uploaded, simply click on them to add them to your design.
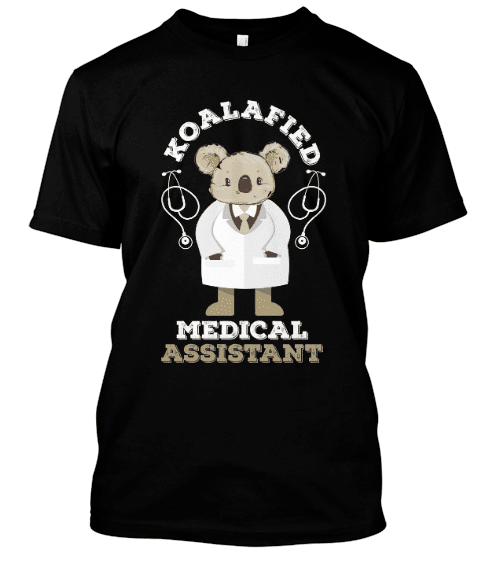
Here is what the current design looks like:
We actually went over this in a recent webinar on keywording (which you can find inside of Merch Informer here), but let’s quickly go over it again. Let’s say you get this design back but you want to change the sub niche quickly. In this case, we want to switch out medical assistant for nurse so it will say “Koalafied Nurse”.
Easy!
Inside of the Merch Inforner Designer, add your design. Once it is added, go to the top menu and click on the crop button:
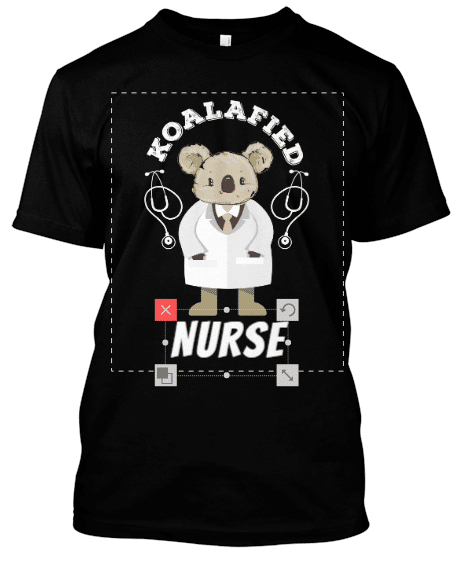
Adjust the crop so that the medical assistant part gets cut off and then click on save. Now, you have a blank canvas where you can add whatever text you would like.
From here, simply click on the text button on the left hand side and add some text and select a font/color.
Just like that, we have our new design. Go ahead and go to the top left hand menu and click on download.
The design looks good, and now we need to make it “stand out” with some mockups before we place it onto Pinterest.
Step 2: Select Mockups On Placeit
Log in to your PlaceIt account that you grabbed above.
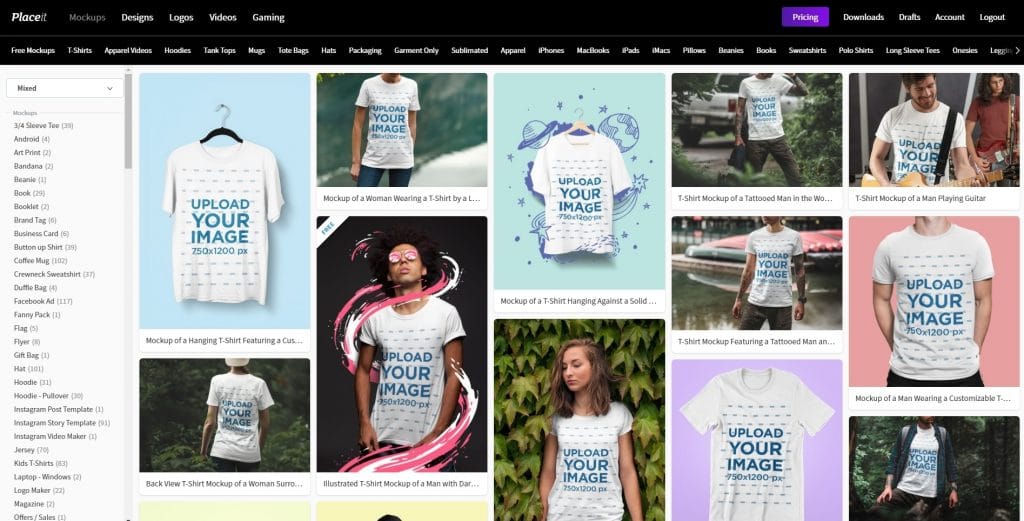
Click on mockups in the top menu and you will be taken to this page.
They mockups on just about everything you can imagine, but we are looking for t-shirt mockups. All you have to do is enter in “tshirt” or “t-shirt” into the box and click on search.
Here, you will be able to scroll through all of the mockups available:
Think about your target audience here though when going through these. Is a nursing design going to look good on a guy playing guitar? Probably not!
Is a nursing design that we are going to put on the front of a shirt going to look good on a mockup that shows the BACK of a shirt? No, that will just confuse the customer once they get over to Amazon.
Just think a little bit here.
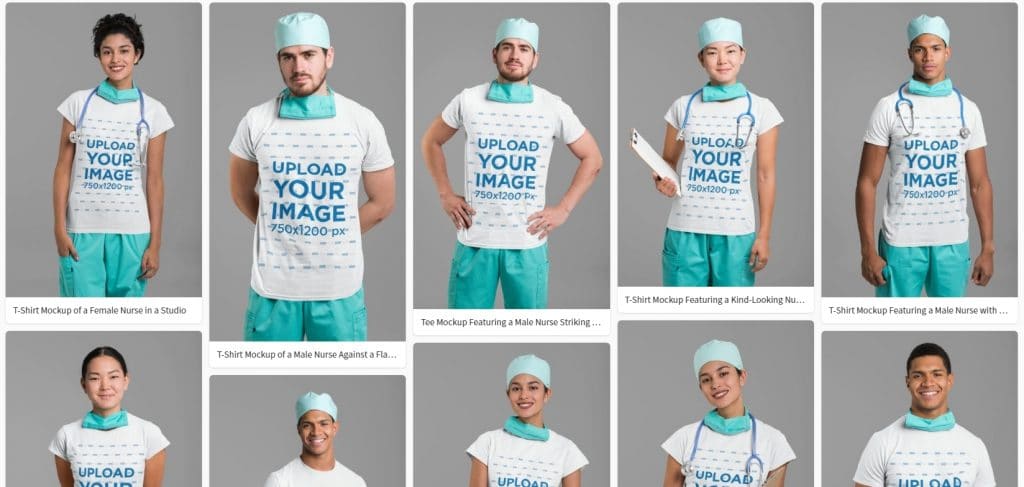
What a I really like to do with Placeit is just enter “t shirt + niche” into the search bar.
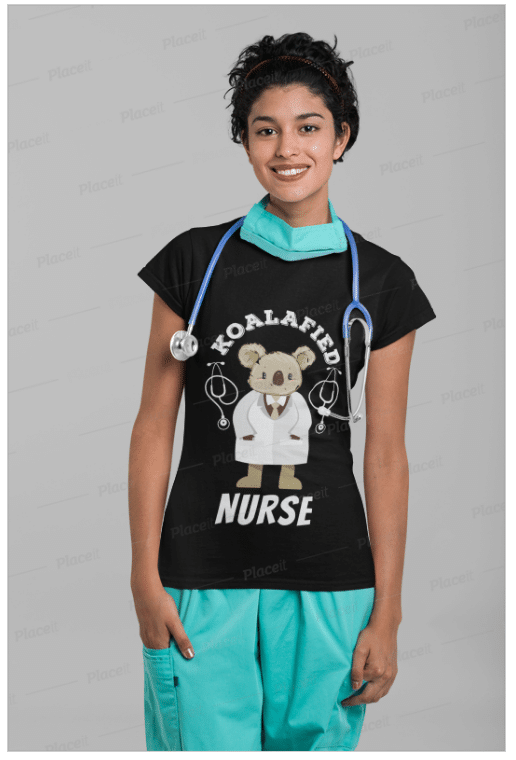
In this case, I am looking for a t-shirt mockup, with the main niche being nurses. This will help showcase your product in the wild so that the customer can imagine what it would look like in their profession/hobby.
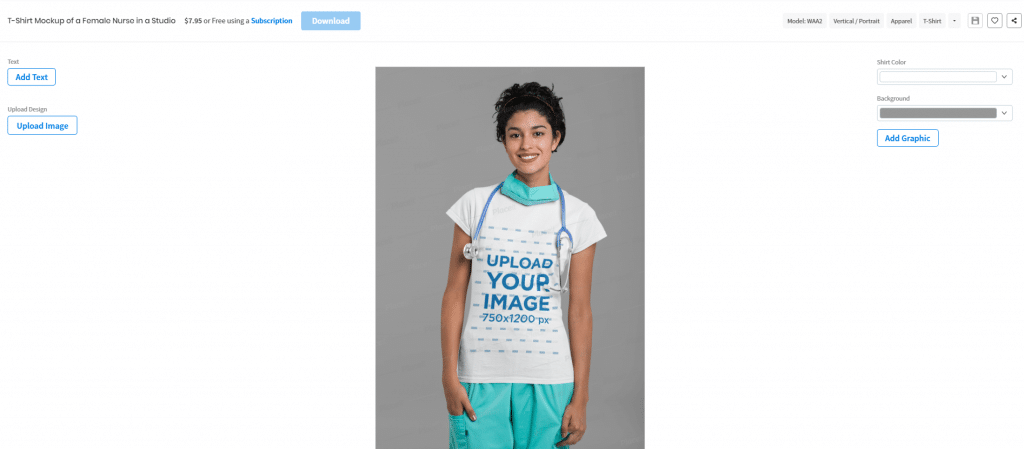
Not bad! I am going to select the top left since that looks like a good believable mockup that would fit well with this design!
Step 3: Uploading/Changing Mockups
Now that we have selected a mockup, it is time to make it look great before we can upload it to Pinterest!
This part is fairly straight forward.
Upload the design that you downloaded from the Merch Informer designer. It will then ask you to resize/crop the design so that it will fit properly on the mockup.
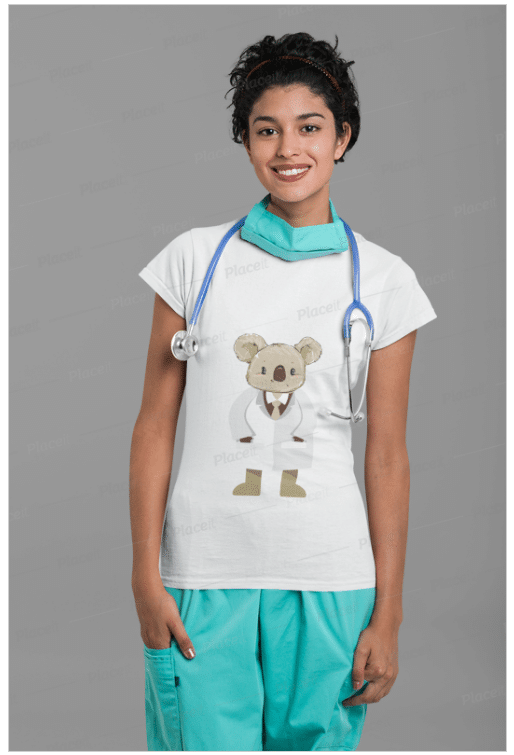
Once you upload the design, you will see it on the the model.
However, we are not done yet (because this is not even readable:
Go up into the right hand corner, and click on “shirt color” which will open up a massive color picker. Since this design looks good on a darker color, play around with it until it looks right!
Once we change the shirt to black, the mockup looks MUCH BETTER!
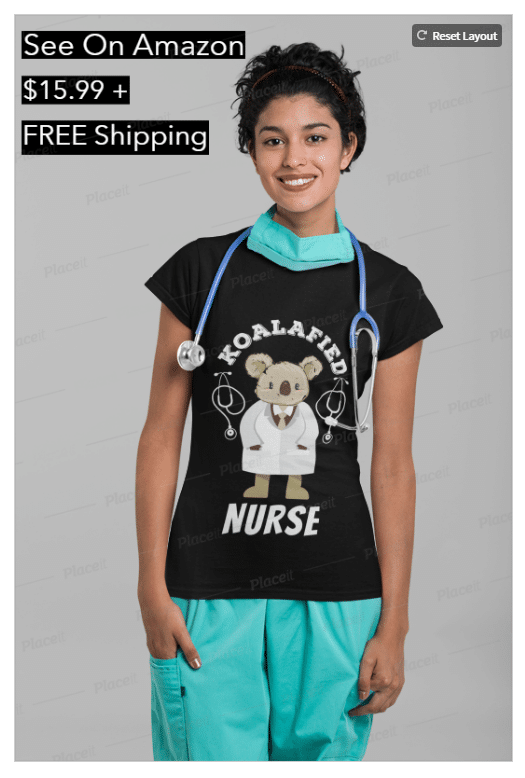
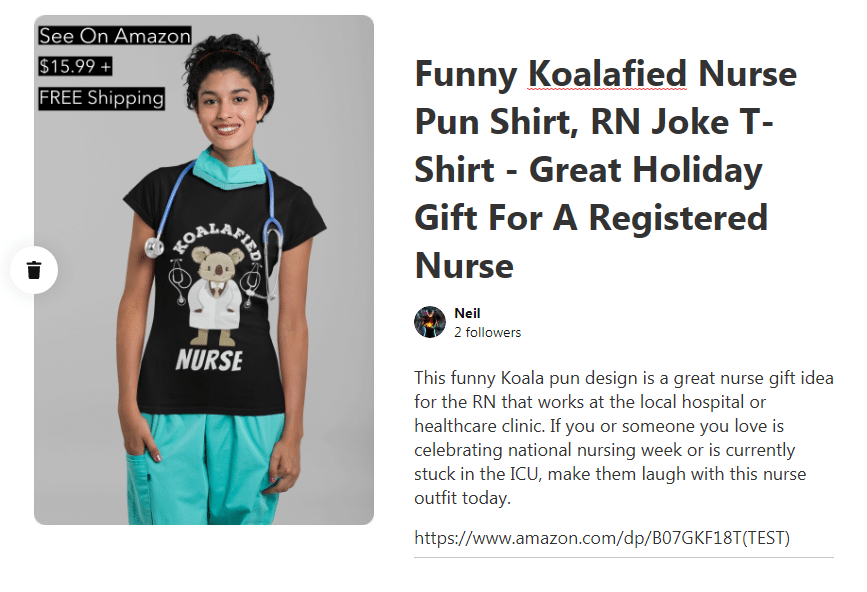
But wait a second…we are going to be using these mockups on Pinterest. Since the entire goal is to get people OVER to Amazon, we need to add a call to action!
This call to action is going to ask the viewer on Pinterest to see the product over at Amazon.
Click on the “Add Text” button in the left handmenu:
See On Amazon $15.99 + FREE Shipping
You can change this to whatever you like and play around with it but a call to action is what you should be adding to give the viewer that extra purchase to take a look and or purchase it.
This is looking good to me! Go ahead and download it so that you can now head over to Pinterest and upload it!
Uploading To Pinterest
Now that we have our great mockup, it is time to put it to good use!
Head over to Pinterest and log in. If you do not have a Pinterest account set up yet, please follow one of the articles that we linked to at the beginning. This is going to get you set up on the right foot as it is very important to actually create an account with multiple boards that follow your niches that you sell in! This is how you want to build your account so that you can keep everything separate.
Select the board that you want to upload to.
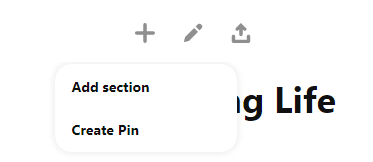
At the top of the page (right above the title of the board) you will see a plus symbol. Click this and click on create pin.
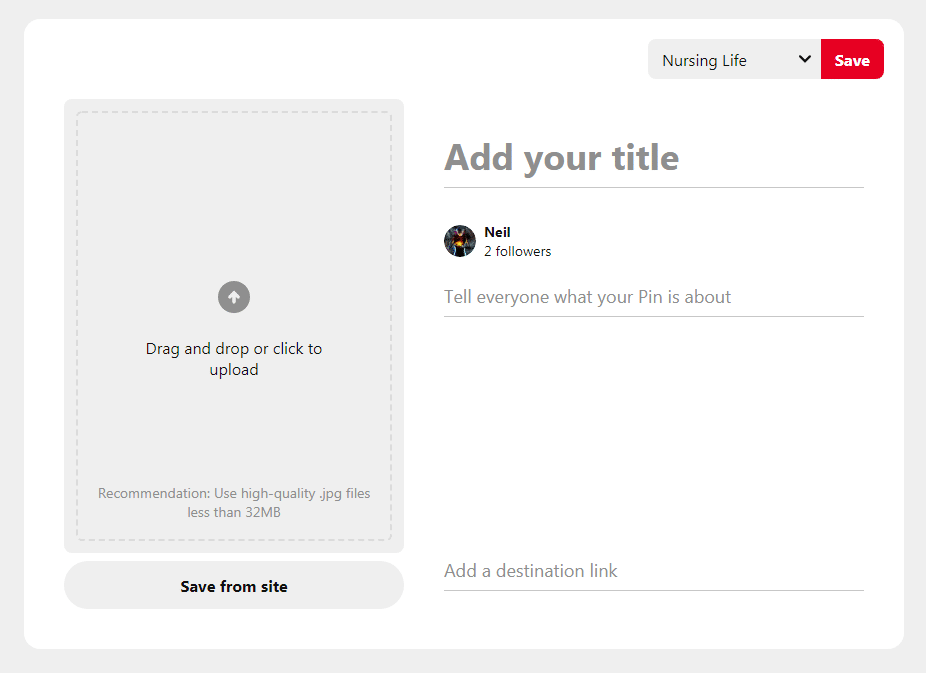
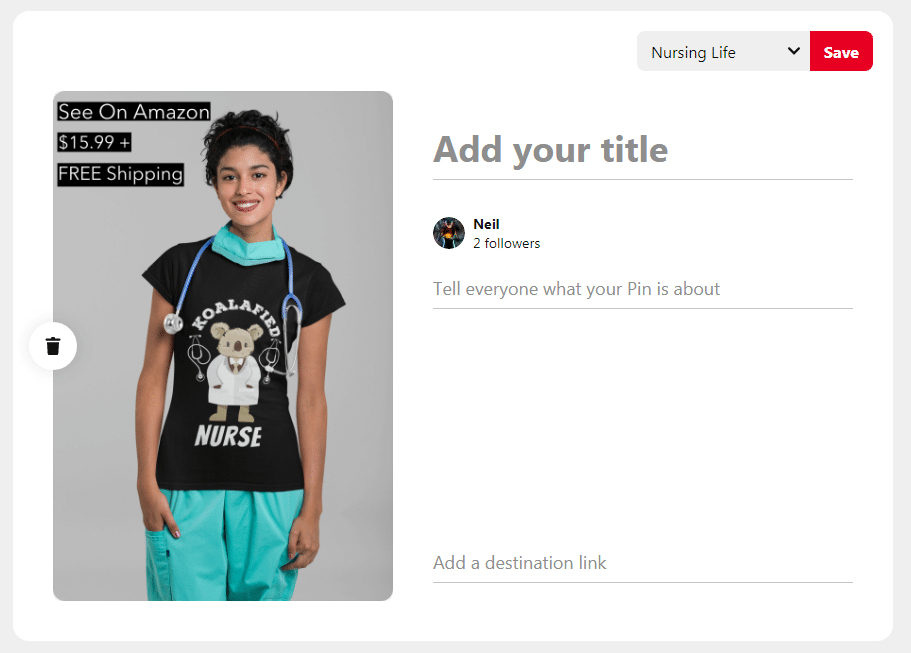
This will open up the editor so that you can create your Pin!
This is pretty self explanatory, but there are 4 things you need to do. The first is upload your image, add a title, and then a description. Finally, add your link!
So, start by uploading the mockup that we just created!
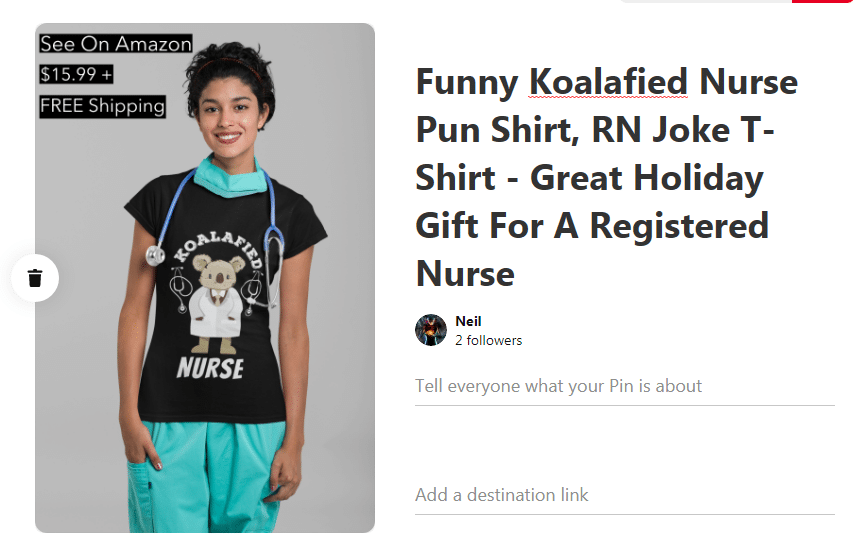
Now, we get to the important part, the Title!
The title on Pinterest is the most important part of your pin. This is what is going to get your product ranked in the results (because Pinterest is just a massive image search engine).
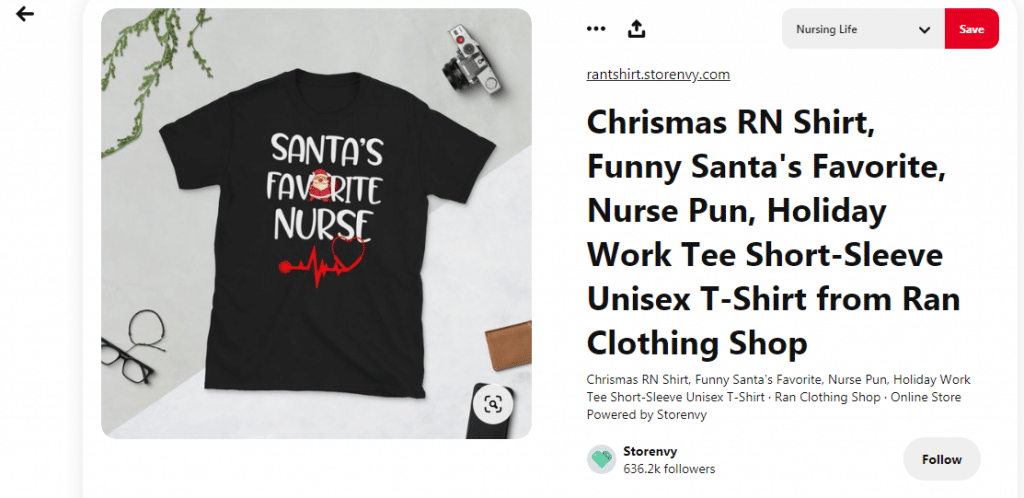
My first technique for getting this right is just to do a Pinterest search for your main niche and see what is ranking first. These products are going to have a good number of similar keywords that you can use as well!
Notice how their title is decently long and just full of keywords? We will do something similar, but make it a little more readable (sort of like we do on Merch by Amazon), but also put more keywords in there.
Notice how we got lots of the keywords into the title including:
- Nurse Pun
- RN Joke
- Registered Nurse
- Funny
- Holiday Gift
…and we also got the keyword t-shirt in there (since this is not Merch by Amazon, we can add the actual product since we are linking to it directly).
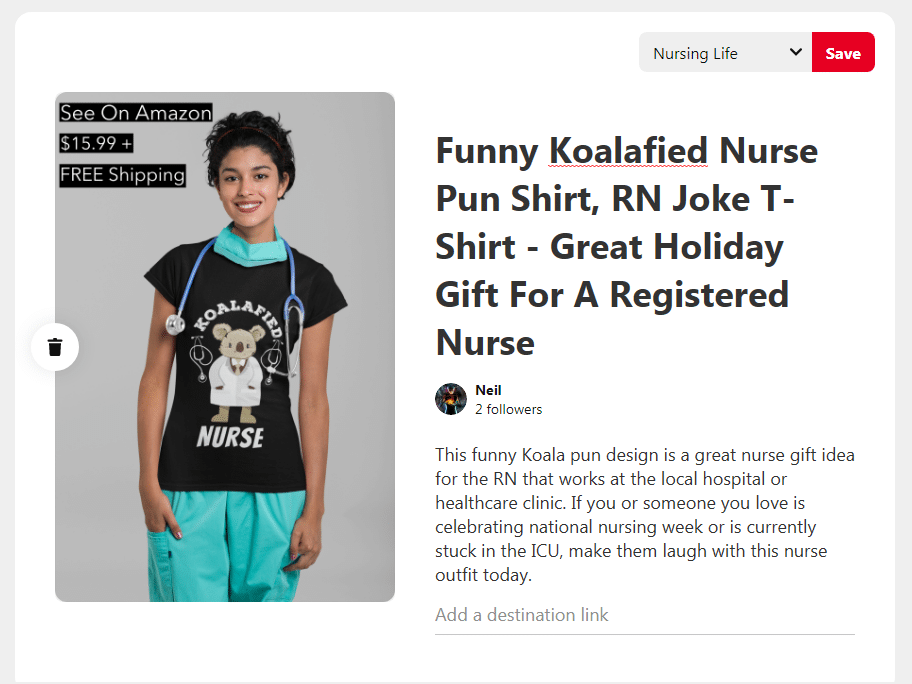
So now, we can simply give it a description. For these, you can fill it out with just a description of what is on the shirt, or simply copy and paste your Amazon bullet points over here which is what I usually do to save some time.
I actually copy and pasted the bullets directly from my spreadsheet that I use with the Single Upload Interface inside of Merch Informer. This design is what we used during a recent live webinar that you can find inside of Merch Informer going over design/keywords/listings. If you want to check that out, grab an account from the homepage here: https://members.merchinformer.com/.
Now, all we have to do is grab the Amazon link and put it into the “destination link” line!
Once you have everything complete, simply click on save at the top of the page:
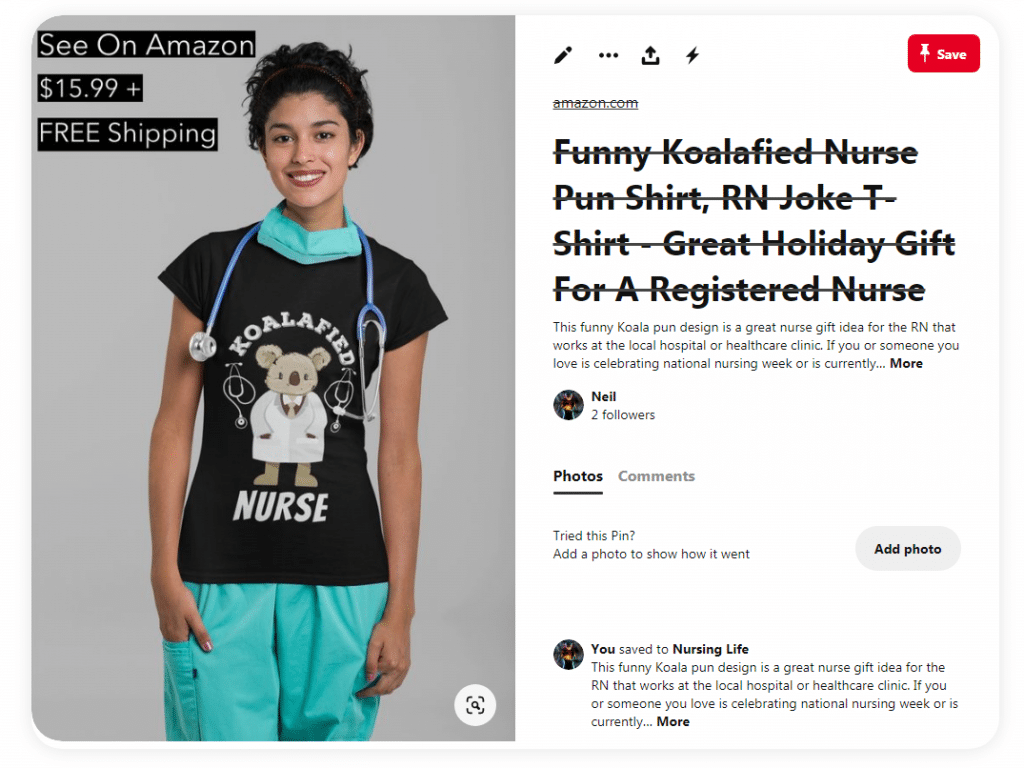
Once you save it, it will look like this:
The title itself turns into a link for the product ON AMAZON, it has a link for them to click to see the product on Amazon, AND if they click the image itself, it will also take them to the product on Amazon.
Not only that, but since you have added this mockup to one of your boards, if you have any followers on your Pinterest account, it will show up in their feed as well. Do this enough times, and you will notice that lots of your products actually start RANKING in Pinterest for your targeted keywords.
THIS is how you drive 100% free traffic to your Amazon listings while also building another online presence.
Wrapping It Up
I know this guide has been a decently long one, but it is something you should seriously consider setting up and building out.
We got into Pinterest years ago, and to this day it still drives organic traffic to products that we have not touched in ages. That is the beauty of Pinterest. Once you get the ball rolling, it rolls and it rolls and the traffic keeps coming in.
You can compound these results by making sure you use stunning mockups and not the ones you might find on Amazon (which do not stick out at all!).
Lifestyle Mockups + Call to Actions + Properly Titled Products = Traffic.
Follow that formula enough times and you will begin to see the power of Pinterest!






Great and very informative post, Neil. Thank you. Just one question: do you use the price strategy on the mockup all the time? It seems to me that this will stop you from changing your prices on the products. Or was it just an example of things you can put inside your image? Thanks again.
I don’t do it ALL the time, but the call to action is what is important. You can skip the pricing though!
As always, Neil is full of straight-up information. NO fluff!! To the point and on we go! Thanks for sharing your knowledge.
but why is the title and link strikethrough?
Would you recommend the link to Amazon or the link to your t-shirt website with the same shirt? Or does it matter? Tks! Love your extremely helpful tips!